The graveyard find
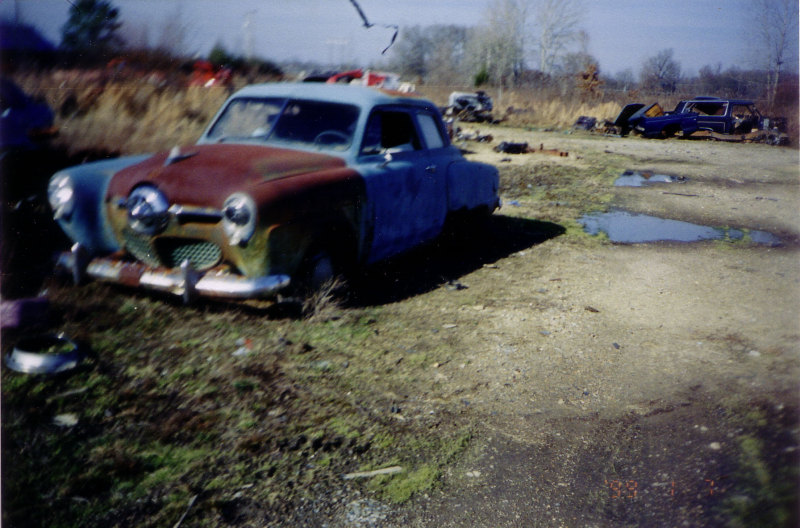
The 1950 Studebaker was found left for dead in a field in Little Rock Arkansas.
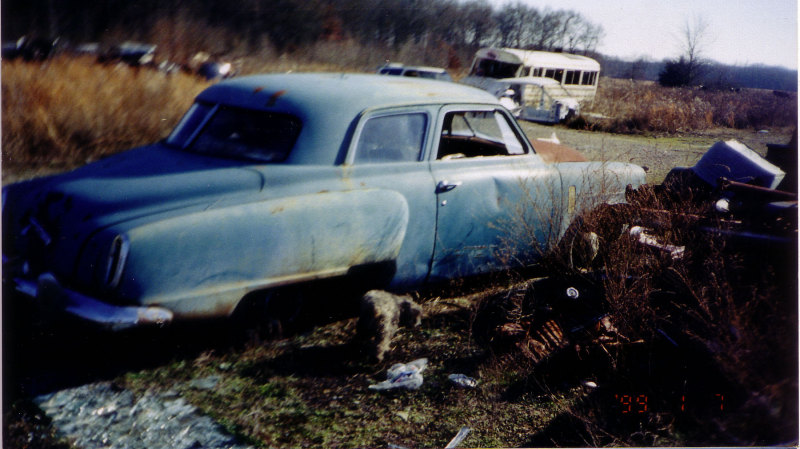
Many years left in a field
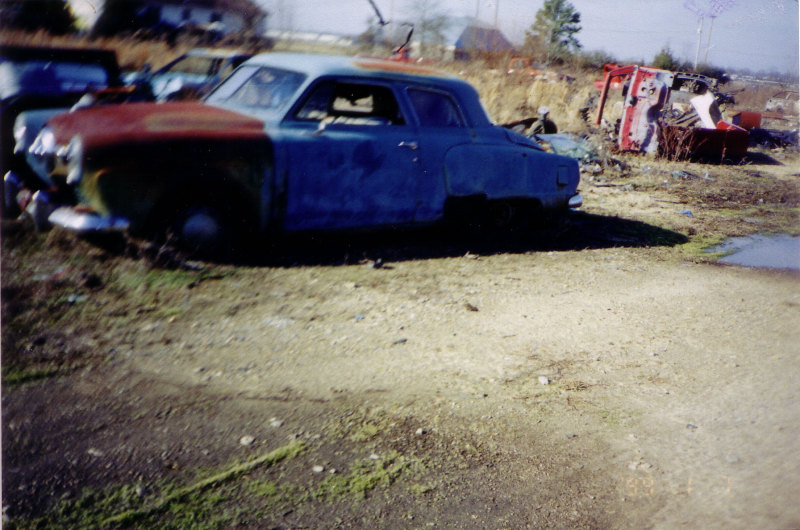
It looks rough but the rust is all on the surface.
Abondoned in Little Rock Arkansas
This car was 100% complete. The only things missing were the two side glass windows.
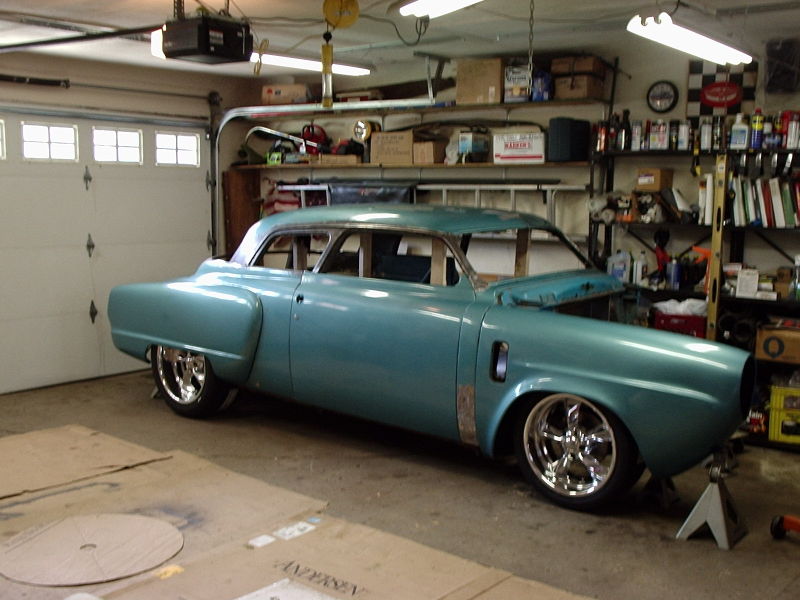
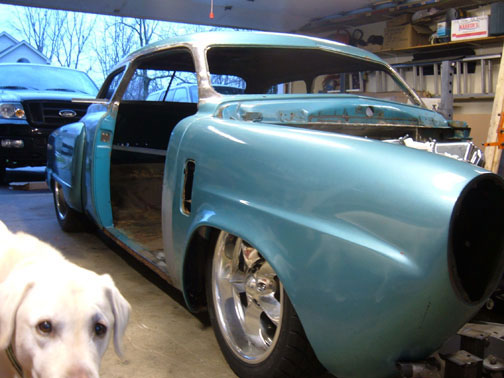
This is what it will become
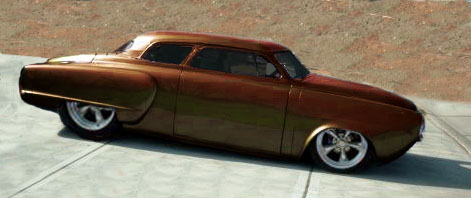
3" chopped top. All the suspension will sit on air bags. The rear wheels will be 20" and the fronts will be 18". Shaved door handles. Blueprinted and balanced Ford 351 Windsor motor. Shaved bumpers. And much more.
Original flathead inline 4
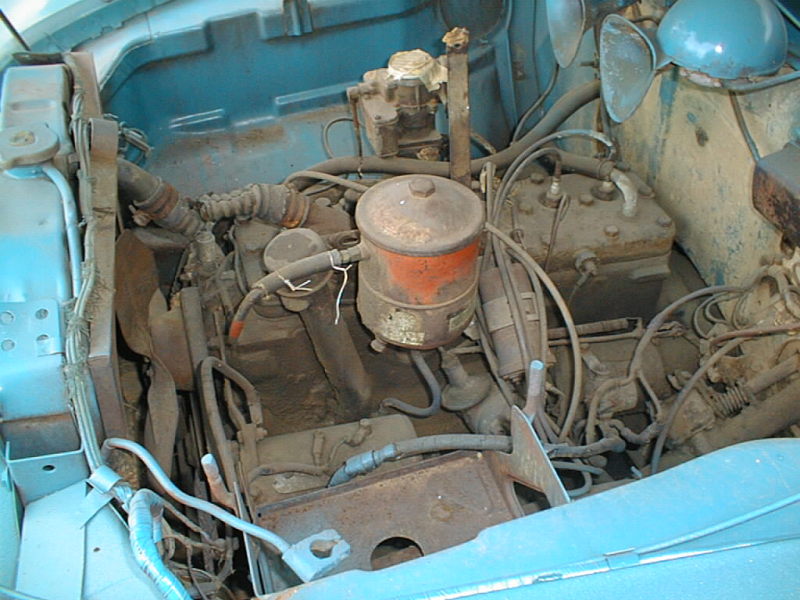
This motor belongs in a go kart.
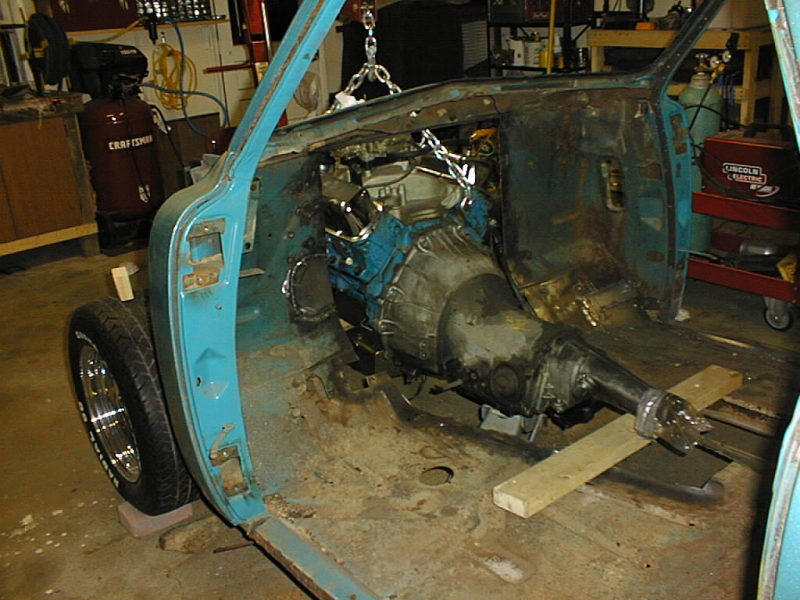
4 cylinder was removed
The four cylinder will be removed and a small block Ford V8 will replace it.
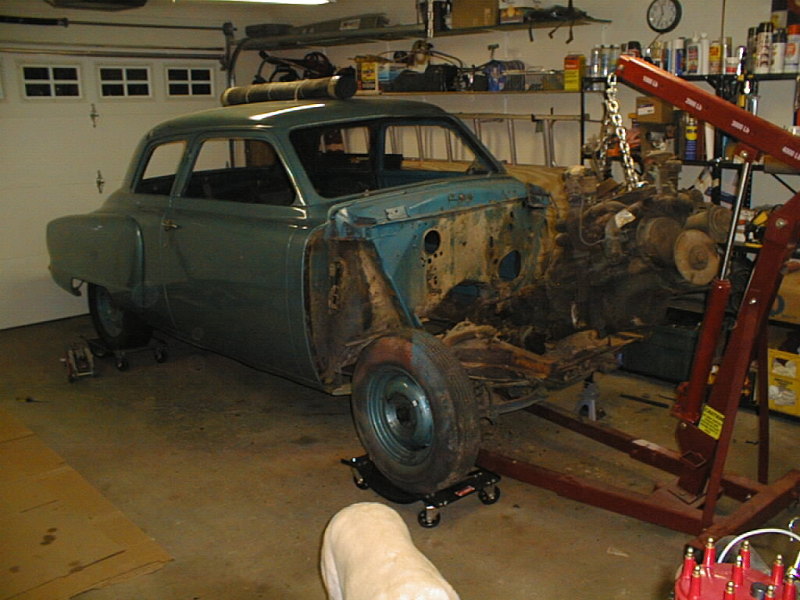
Motor is removed
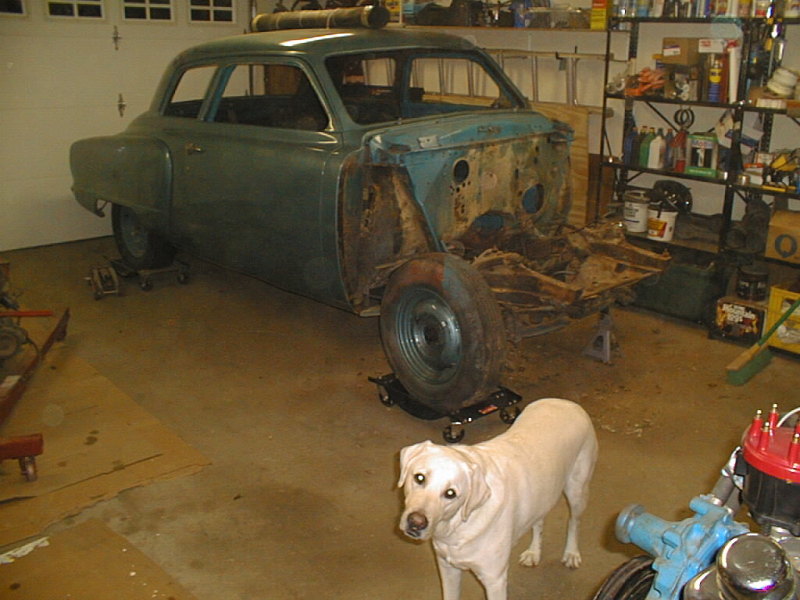
My dog is wondering why I took the motor out.
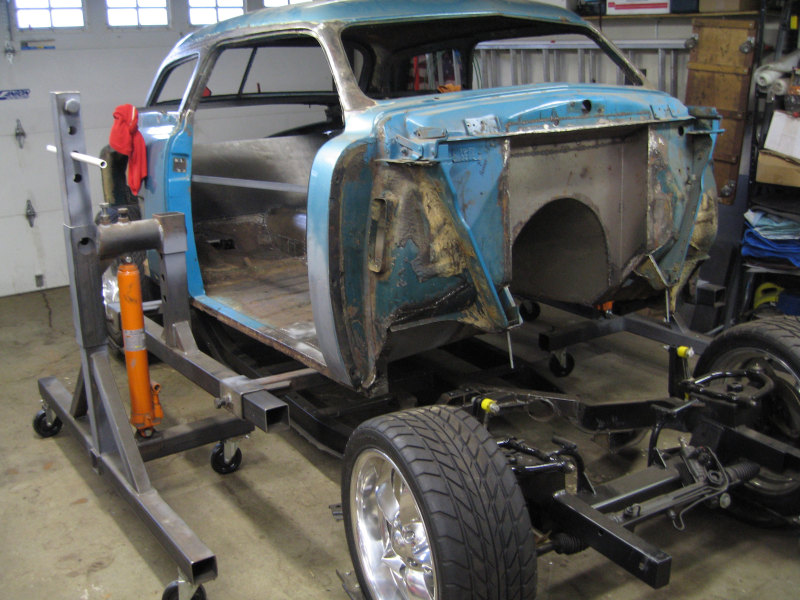
Out with the old
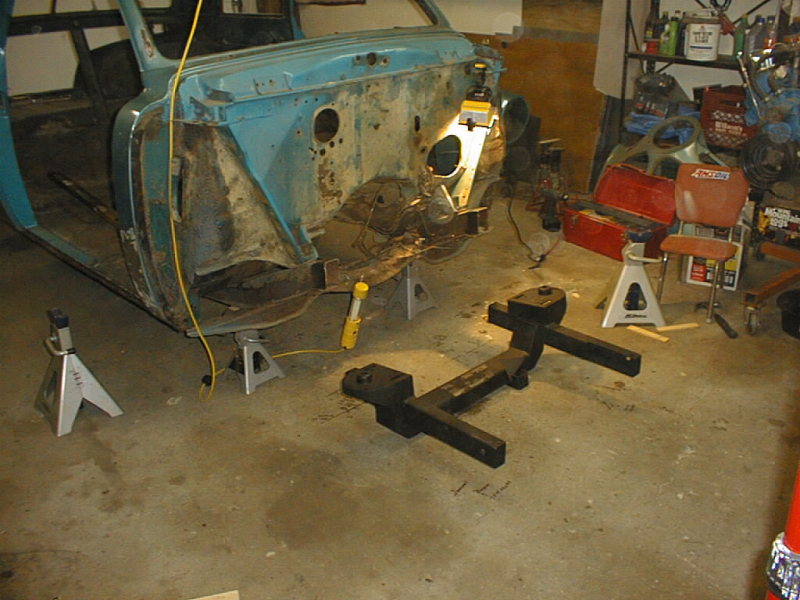
The front horns were cut off the front of the frame. A newer updated Mustang II front end will replace it.
In with a newer safer front suspension
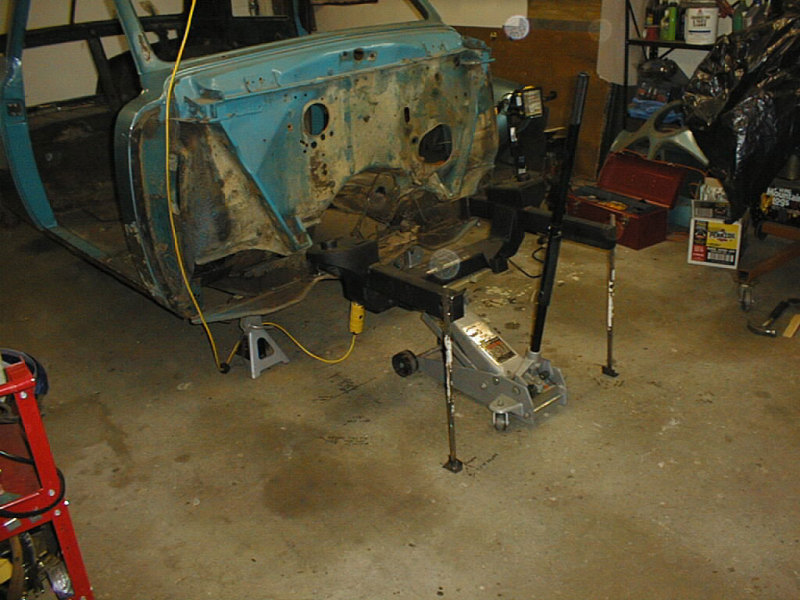
the Mustang II front clip was lined up and welded into place. The suspension will be updated with airbags on all four corners and power steering.
Airbag installation
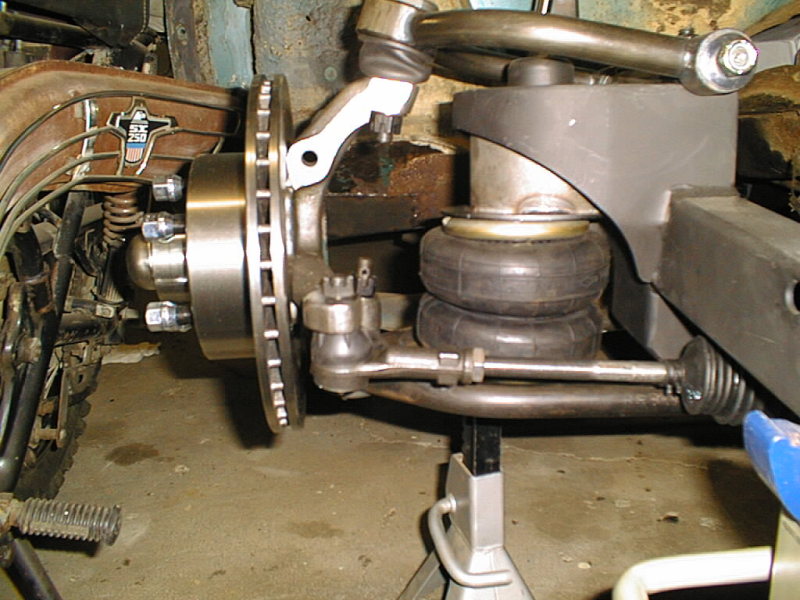
All the suspension will be updated with air bags and disc brakes.
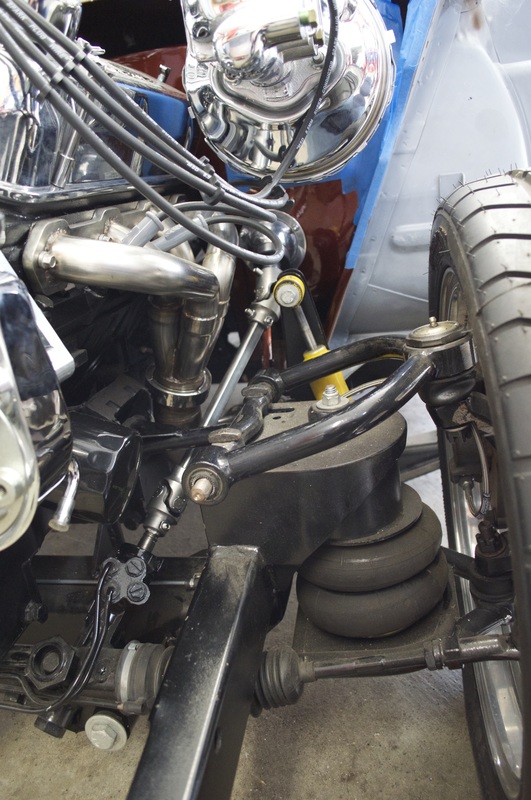
Ai ride bags
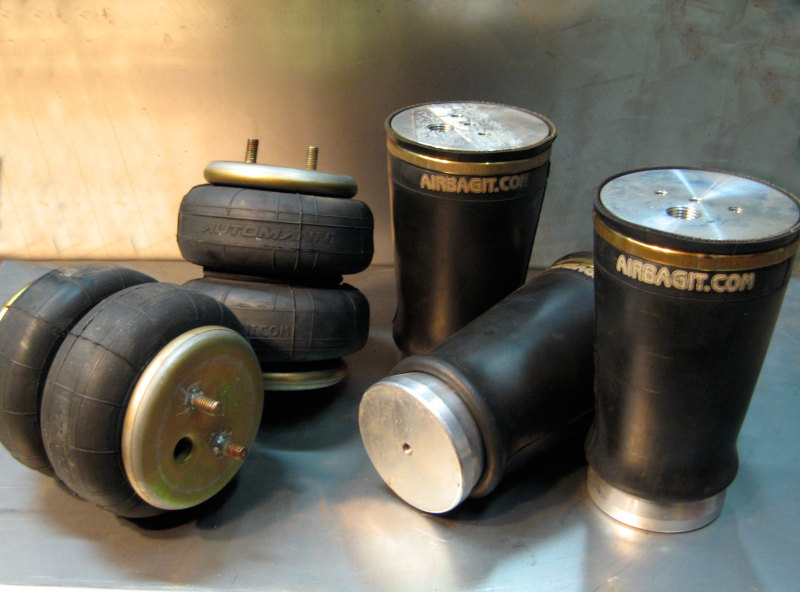
Airbags will be on all four corners. The goal is to drop it in the weeds.
Tubular A arms, updated rack and pinion, power steering

This will give the Studie a great ride.
Recessed firewall
The firewall had to be cut and the motor was fit in place.
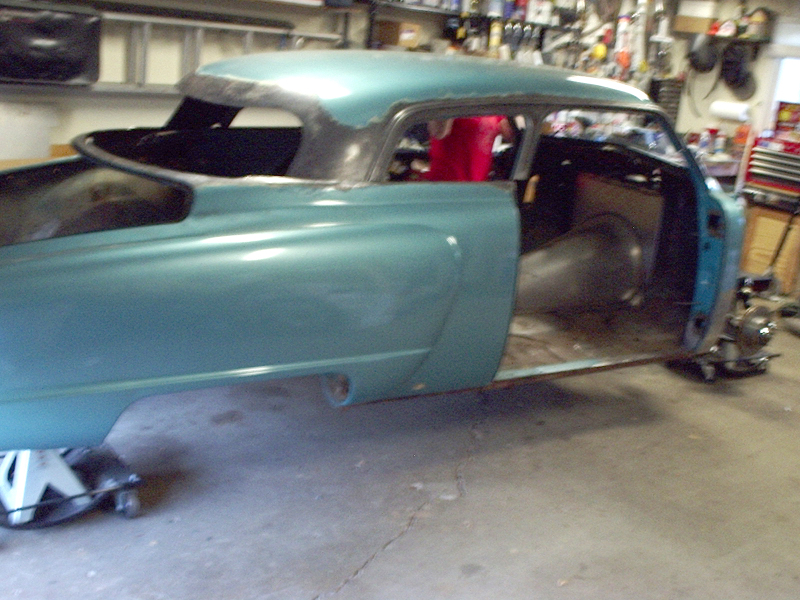
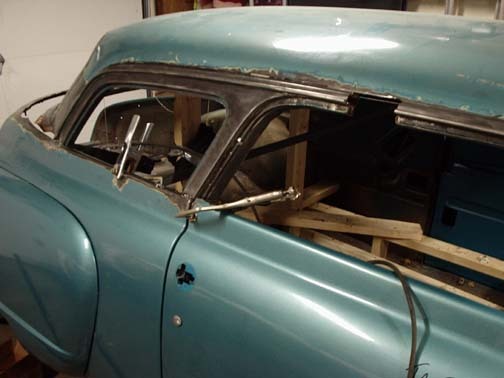
Chopping the top

The top will
Rear window frame is removed
The rear window frame is removed and will be re-installed after the chop.
Rear window frame was removed
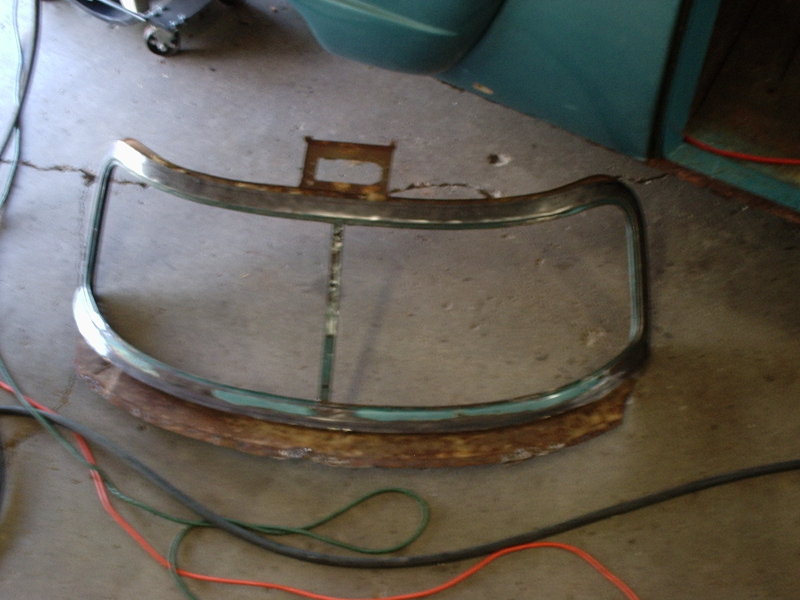
Once the frame is removed in tact, the original glass could be used after it's put back in.
Top is off
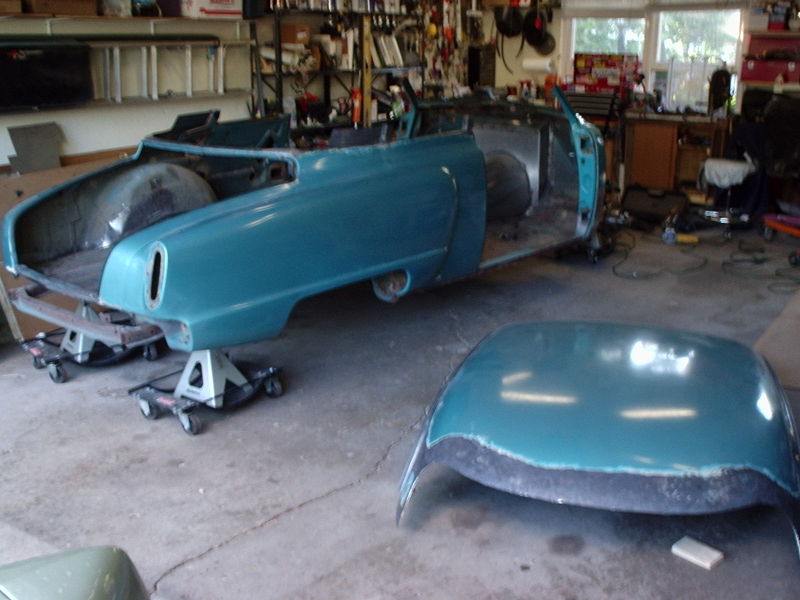
The only time in the build where I got nervous.
Re-installing the top
The top was put back on. The "B" and "C" pillars moved up considerably. The "B" pillar will have to be cut out and pulled back a couple of inches.
Fitting the top
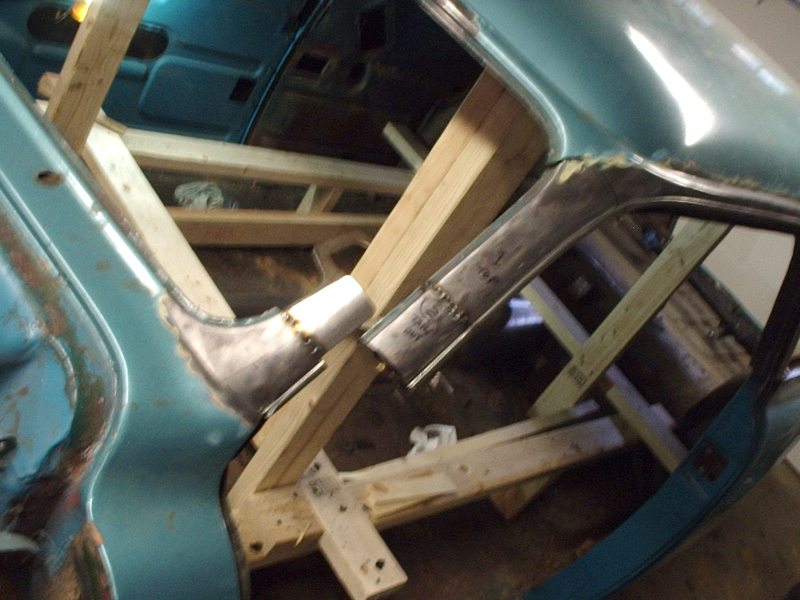
As I predicted, nothing lined up. Every pillar had to be fabricated and re-alligned. A wood jig was built inside the car to help fit and adjust.
Adjusting the A pillars
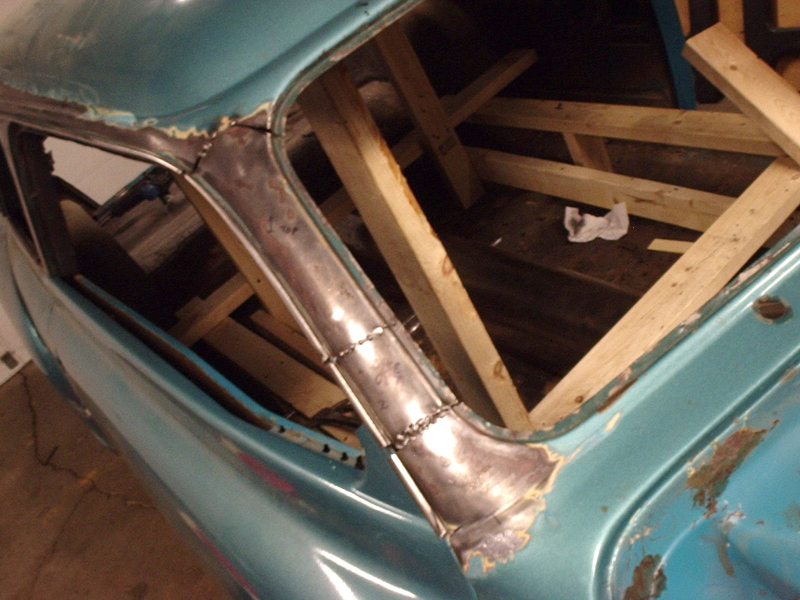
Using pie cuts in the metal to line everything up.
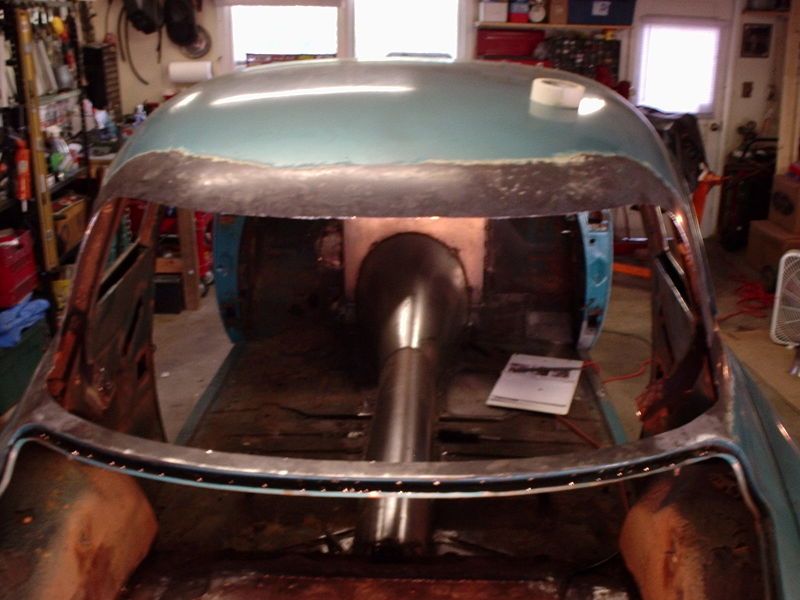
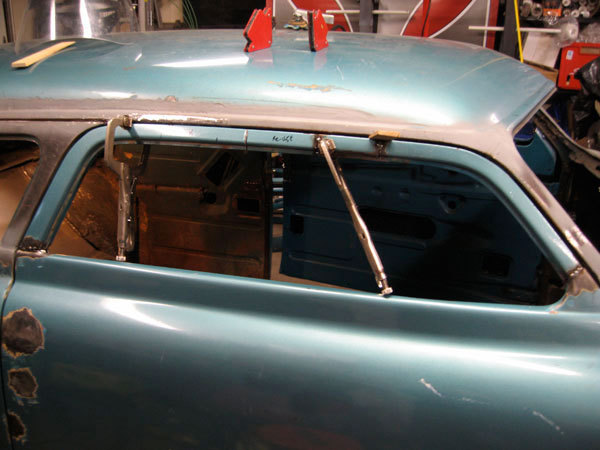
Re-installing the rear window
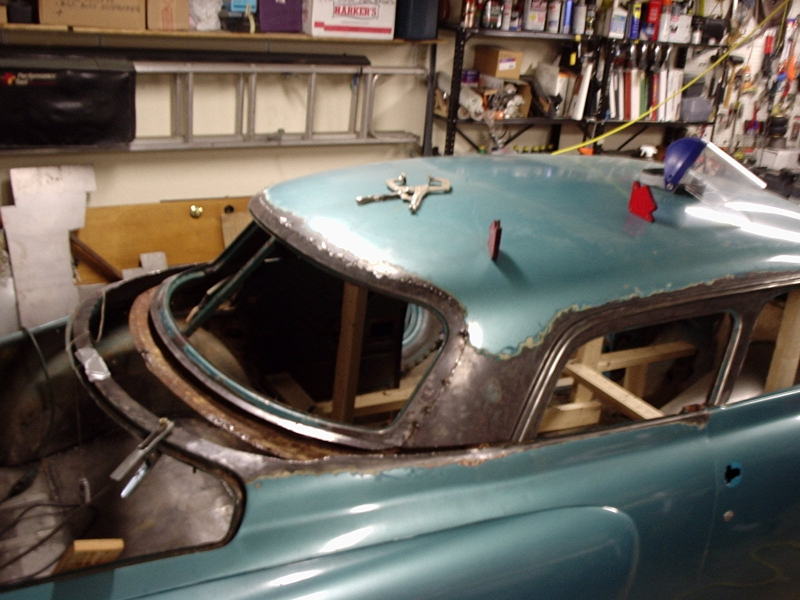
When the top went back on the C pillar moved forward about 6 inches.
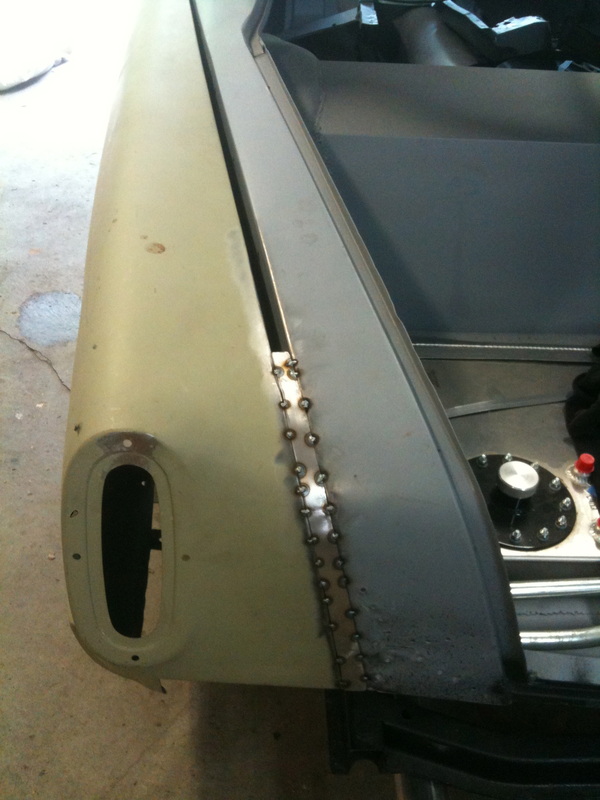
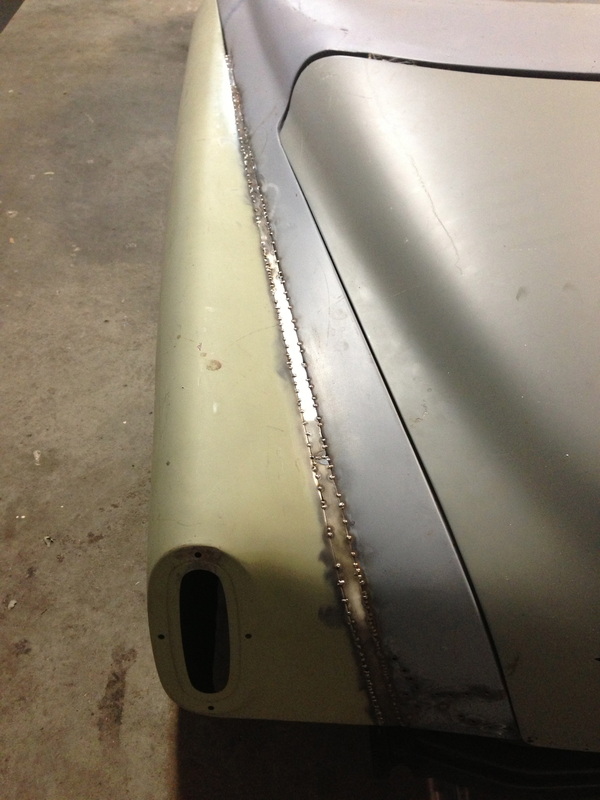
Filling in the deck lid gap

6" of sheet metal was fabricated to fill the space that the chop caused.
Lining up the door frames
The door frames were cut down and the gaps were filled
Bear Claw latches
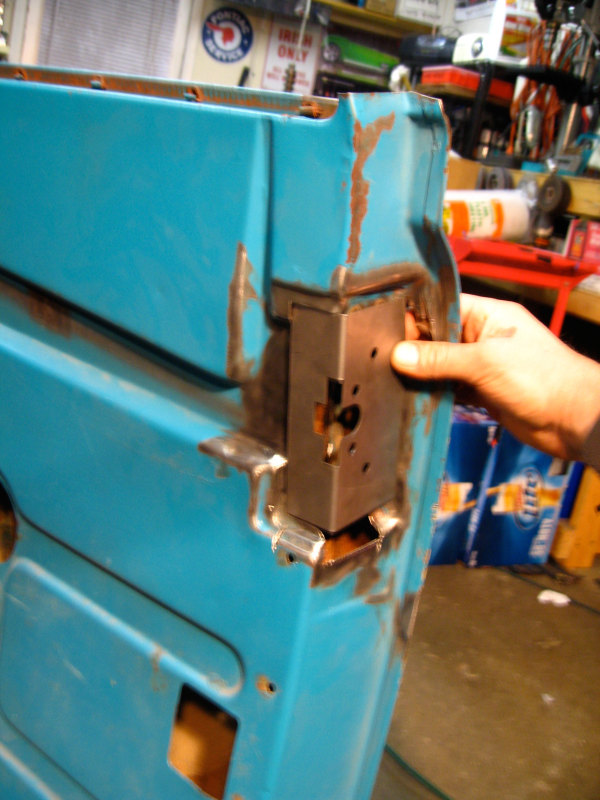
Since the doors will be shaved, Bear Claw latches with door poppers were installed. You hit a button on a key fob and the doors pop open.
Fitting the doors
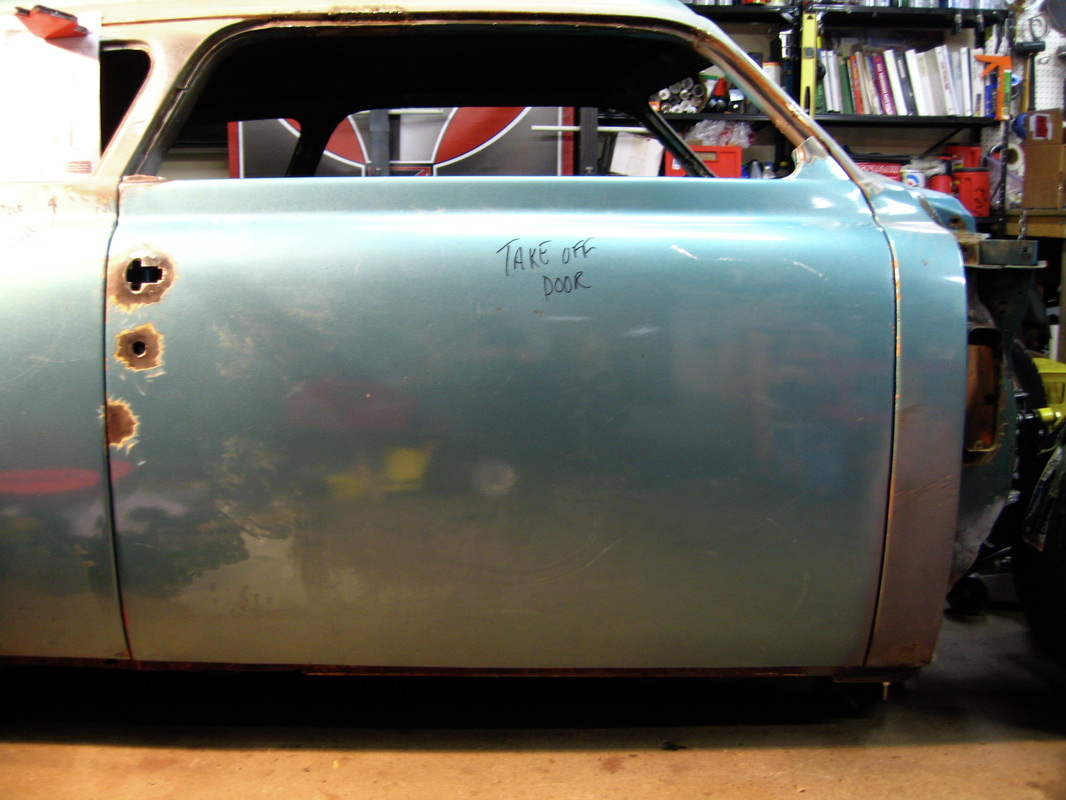
Doors seem to fit good. Time to fill the holes. They won't be needed. The doors will be opened with remote key fob poppers.
Test fitting the glass
After the window frame was installed, the glass was test fitted. It lined up perfectly.
New Boyd Coddington wheels
The wheels were purchased early on in the build. The entire vehicle will be built around the Boyd Coddington 20 inch rims in the rear and 18 inch rims in the front. This is the biggest set of wheels that the car could handle without atering the appearance of the vehicle.
Tubbing the rear
The rear portion of the car was tubbed to make room for the 9 inch rear end when the car's airbags are deflated.
Fuel cell box

A box was fabricated to house the fuel cell. The metal was rolled to add strength and eliminate vibrations.
Fuel cell box
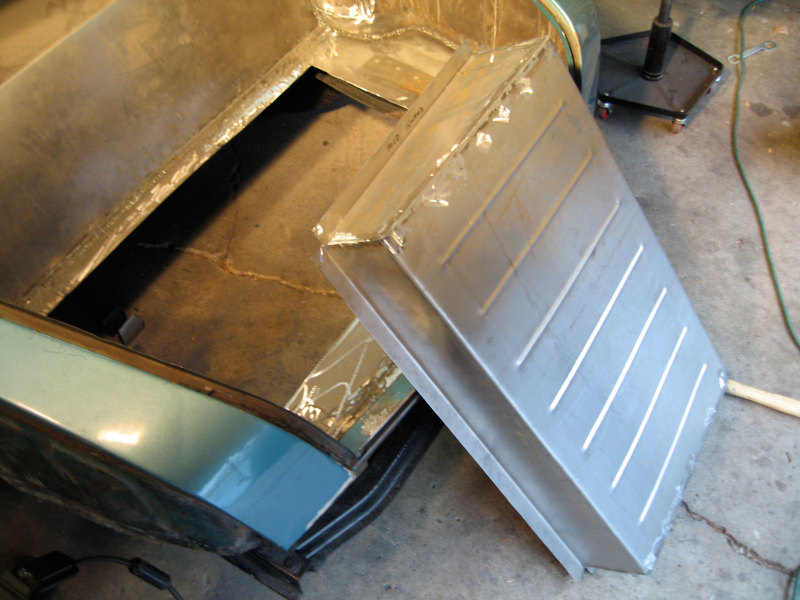
The box will be welded into the hole to house the fuel cell.
Fuel cell installation

The fuel cell sits right in the opening.
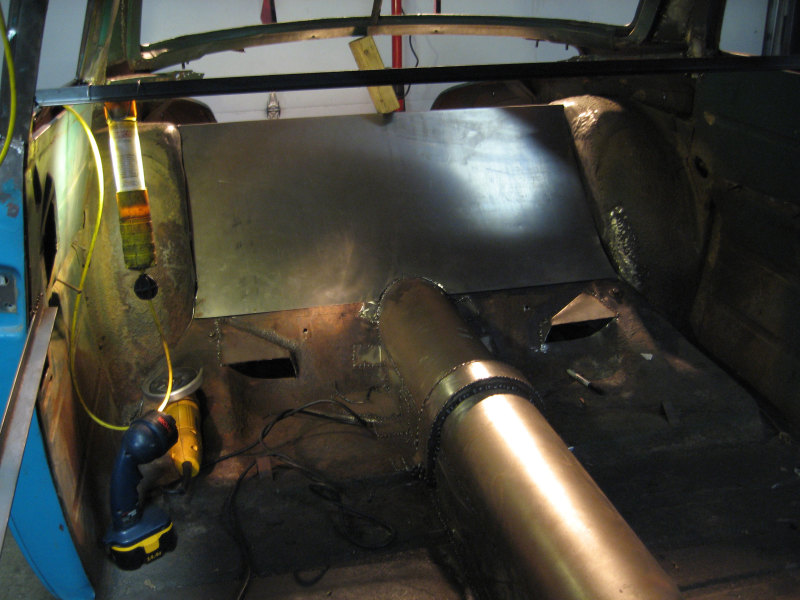
Recessed firewall and extended driveshaft tunnel
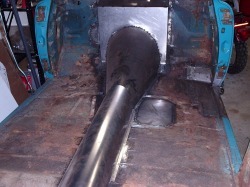
Because the car will sit so low and all the components will move up into the body, a taller driveshaft tunnel was fabricated.
Motor was rebuilt for speed

This will be the power plant for the project. A completely rebuilt Ford 351 Windsor. Bored 30 over, 64cc Dart II heads, ported and polished, TRW forged pistons, 7 quart oil pan, dual plane Offenhauser intake, 650 edelbrock carb, all blueprinted and balanced.
Transmission
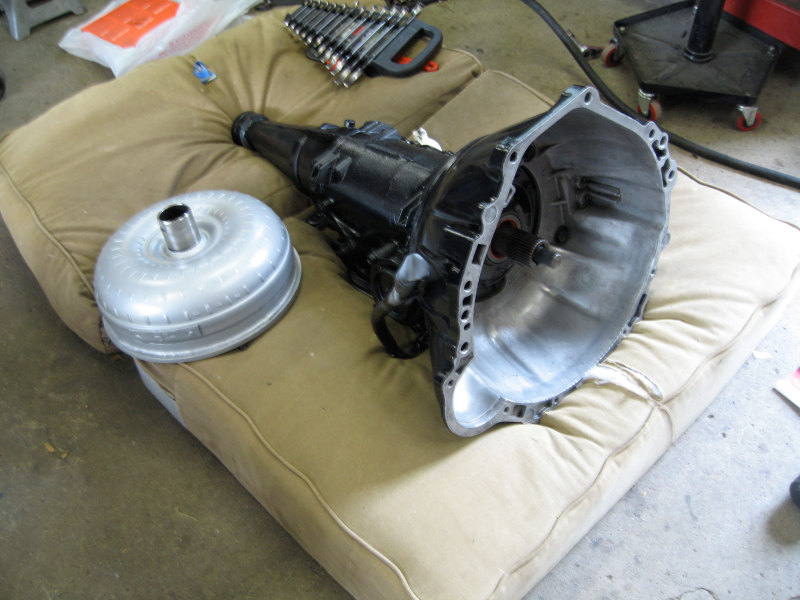
This will be the power plant for the project. A completely rebuilt Ford 351 Windsor. Bored 30 over, 64cc Dart II heads, ported and polished, TRW forged pistons, 7 quart oil pan, dual plane Offenhauser intake, 650 edelbrock carb, all blueprinted and balanced.
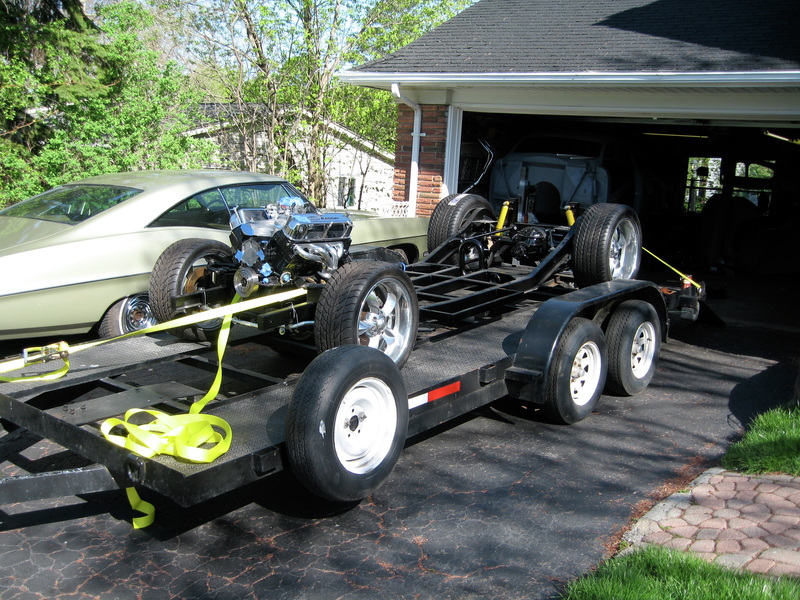
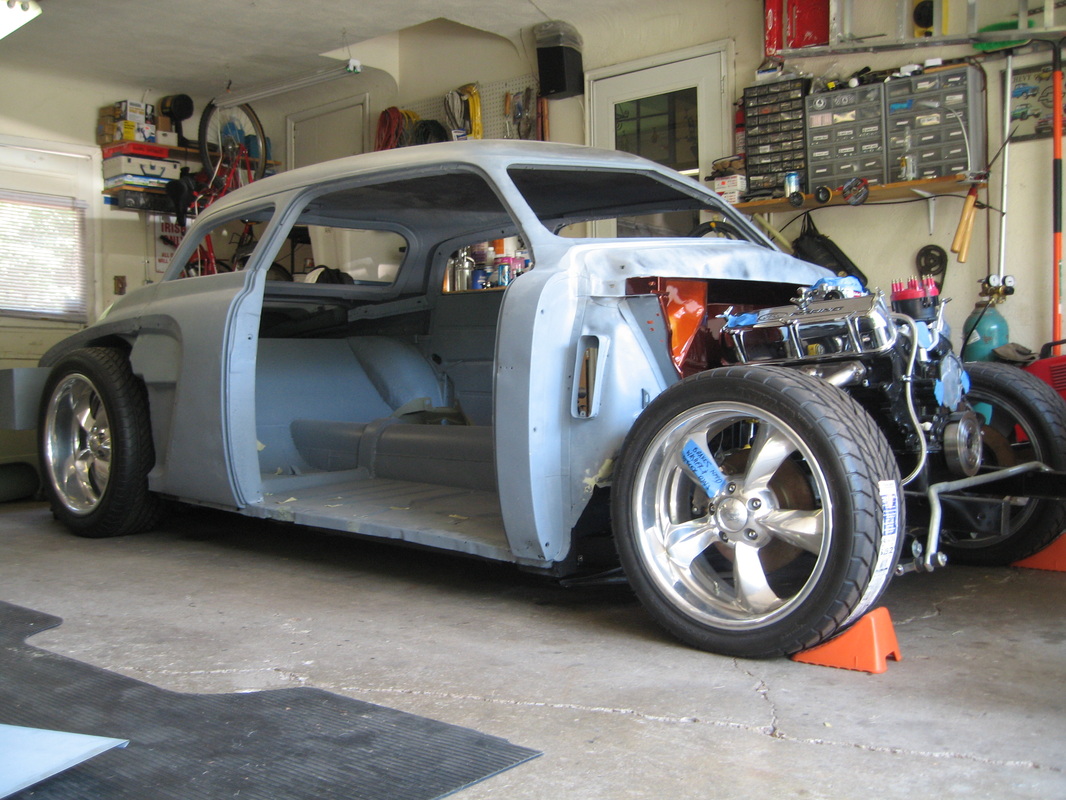
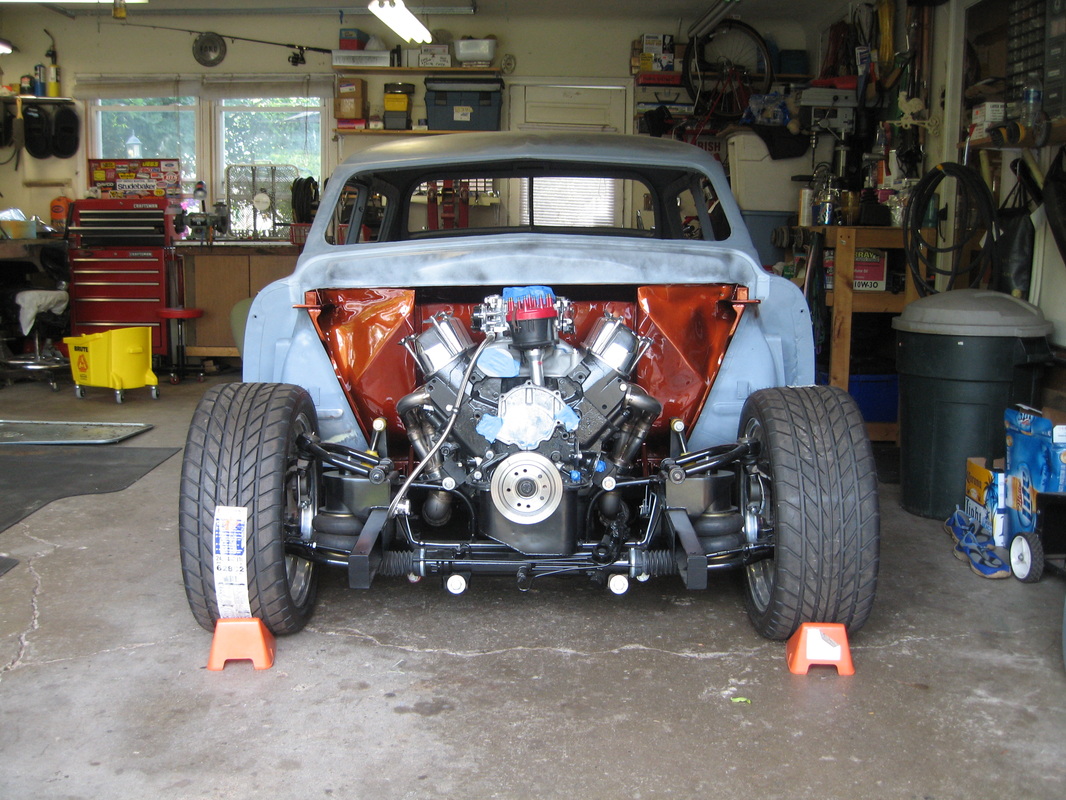
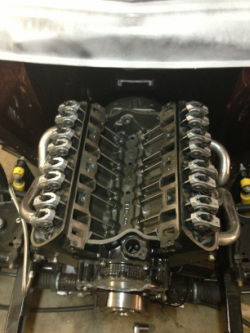
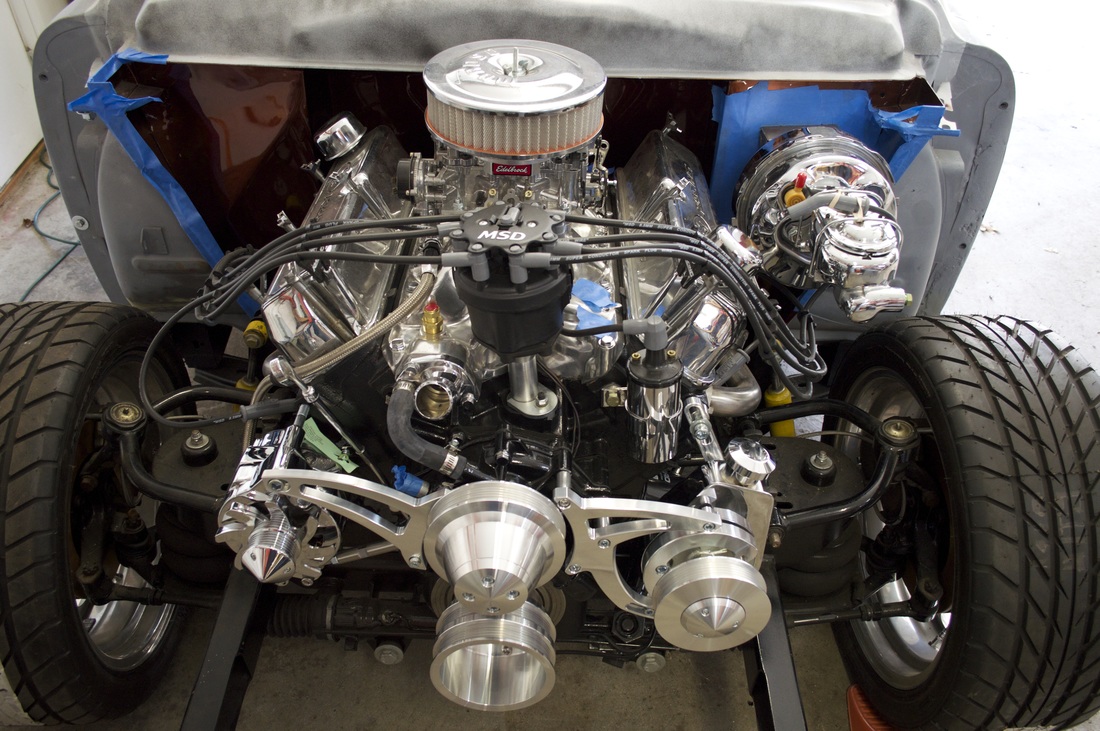
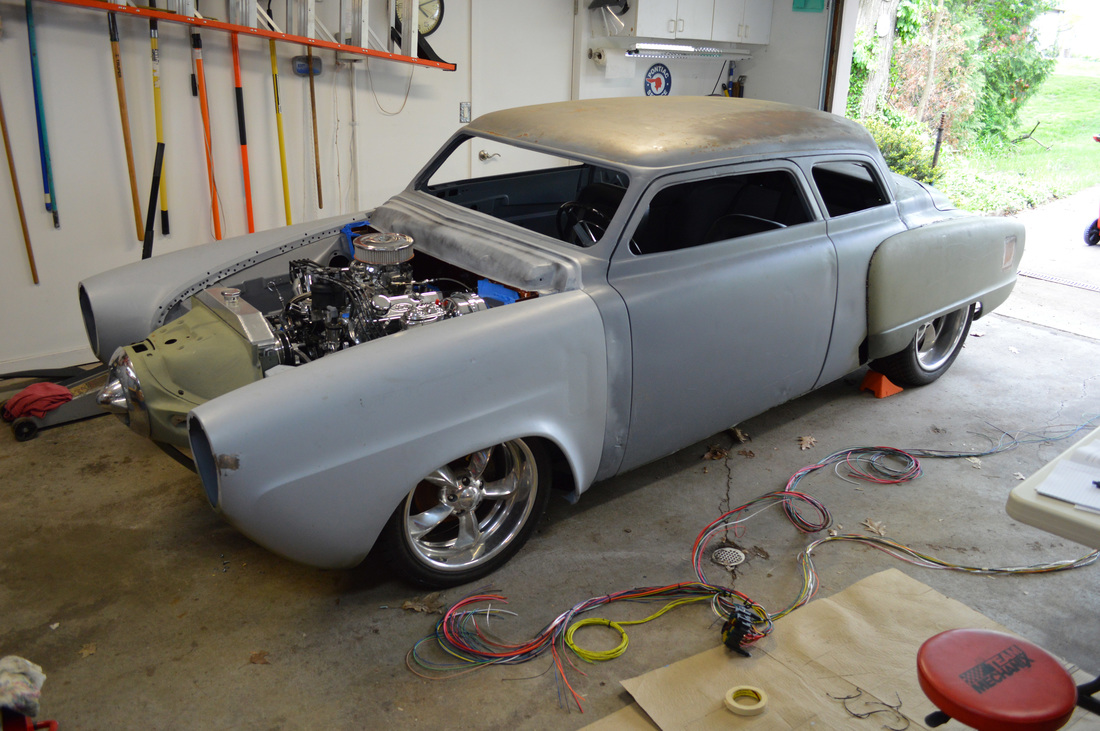
Lining up the motor
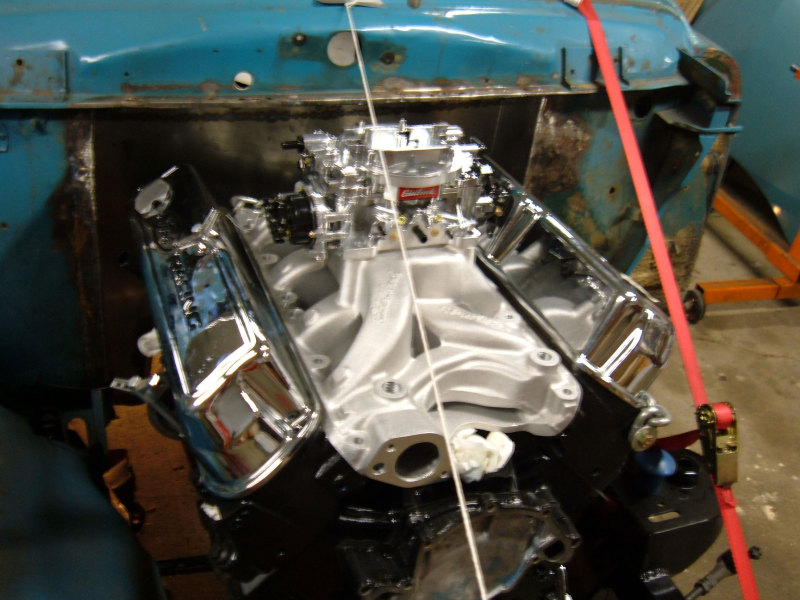
Now that the updated clip is in. The 400+ horsepower 351 Windsor is fitted. The job was much harder to do because Ford motors have a front sump oil pickup making the front of the pan taller. I don’t mind the extra effort because everybody has a small block Chevy in their street rod. Besides, Bob Bourke would be proud of me. He designed both the 1950 Ford and the 1950 Studebaker.
Motor barely fits
My trusty lab keeps an eagle eye on the motor swap. He concurs that it fits. With a half of an inch to spare from the top of the hood.
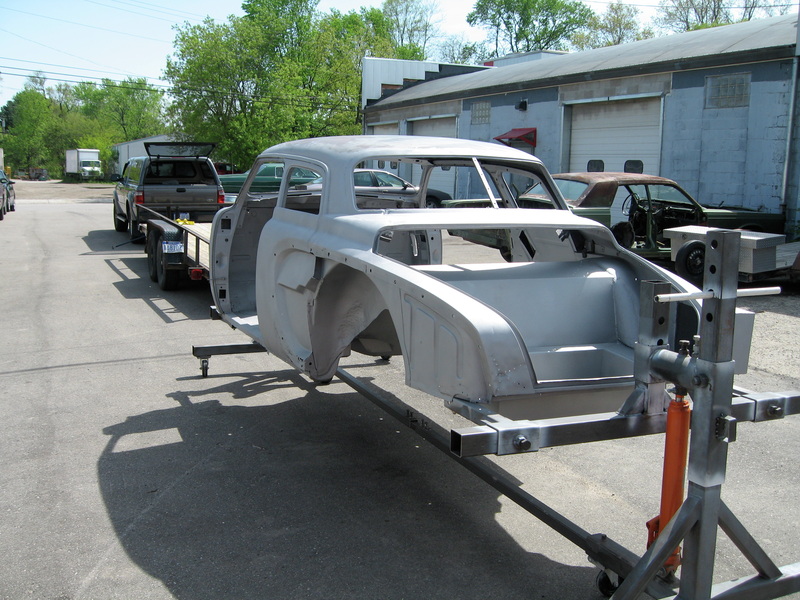
Lifting the body off the frame
The body was lifted off the frame to get media blasted.
Media blasing
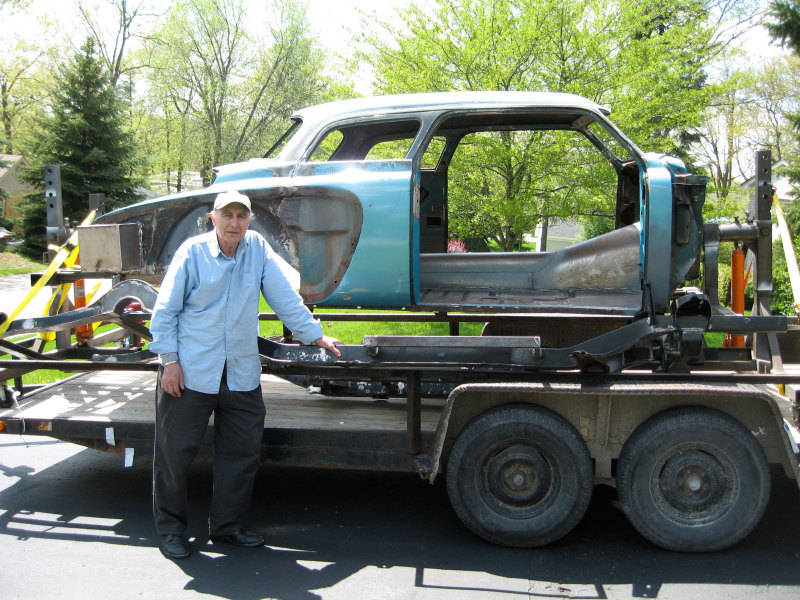
My uncle Victor helped me load up the body, panels, frame and haul it to the media blaster.
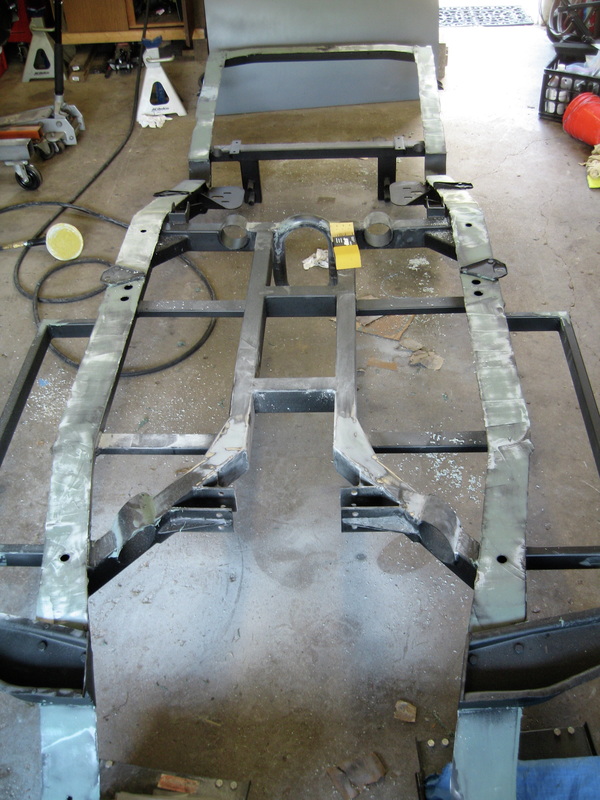
Frame build
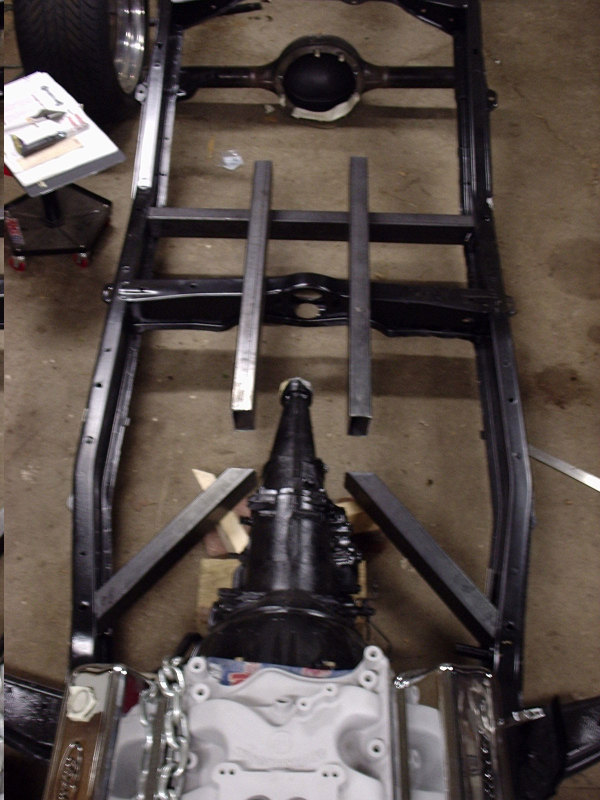
Now that the body is separated from the frame, it’s time to build the frame.
Frame build continues
The only part of this frame that will remain stock 1950 Studebaker is the back rail and half of the two side rails. The rest will be fabricated from scratch using the x frame concept for a responsive ride.
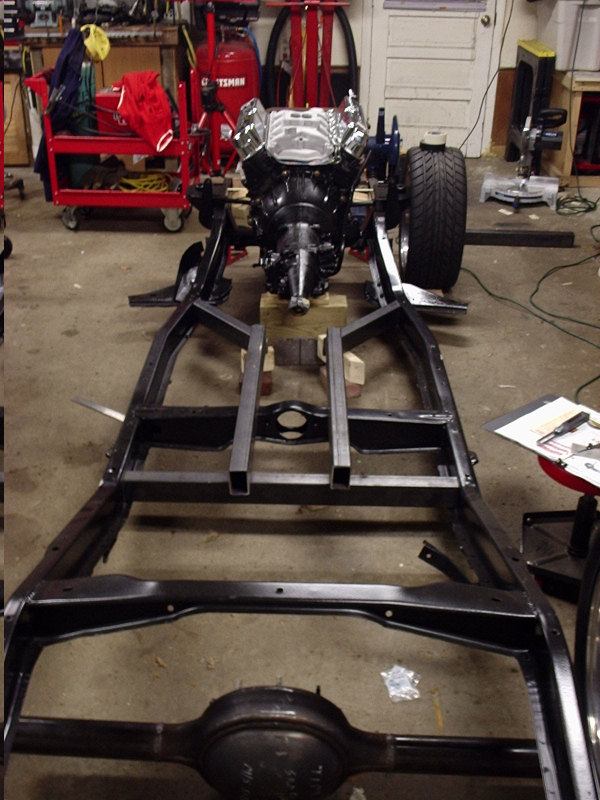
Frame engineering
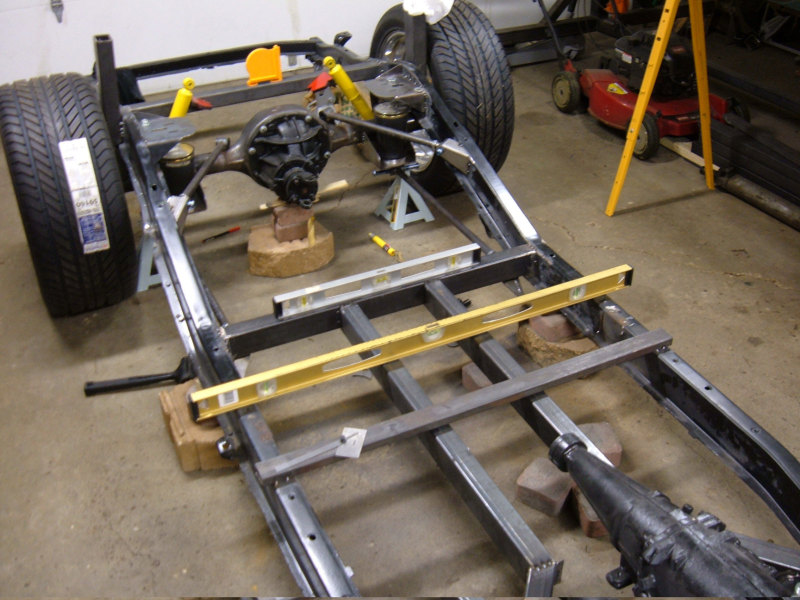
I never measured and leveled more in my life. Engineering is a strange form of art.

The drag racer in me demanded on having a drive shaft safety hoop.
Driveshaft loop fabrication
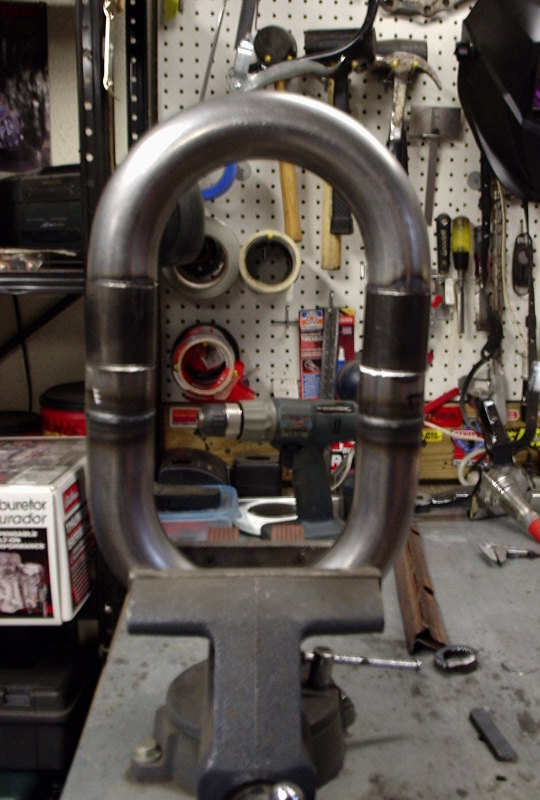
Nothing just fits in a custom street rod application. The Art Morrison drive shaft hoop was cut and extended. Because of the travel distance of the air ride suspension.
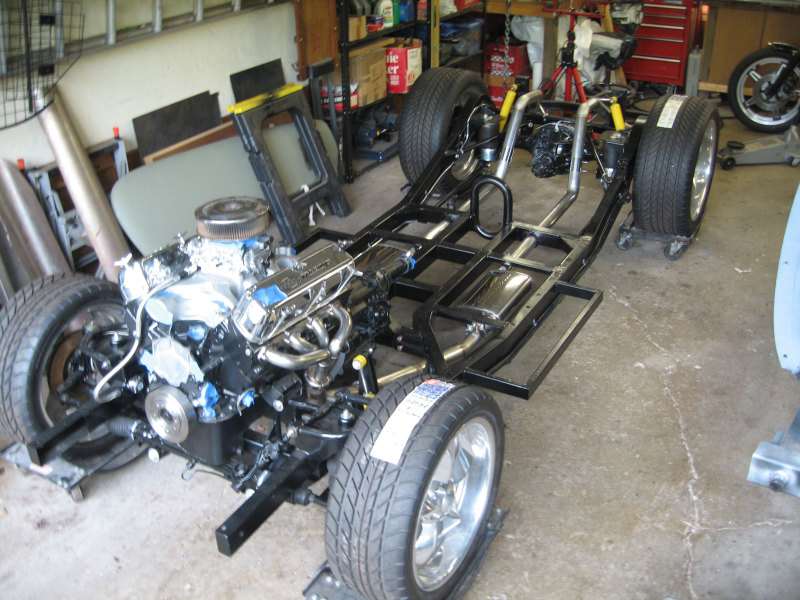
Frame center section complete
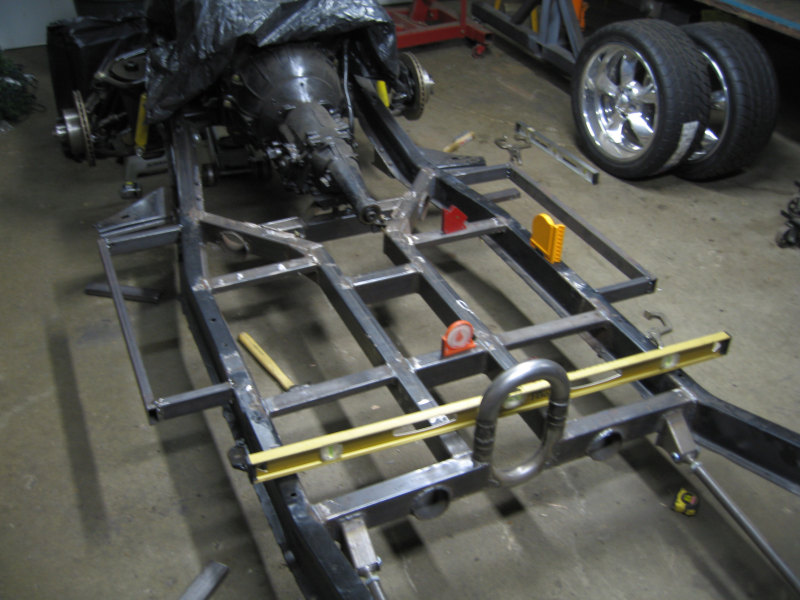
The center of the frame is complete. Four circle tubes were added in the frame rails to run the exhaust through. This will let the car sit in the weeds when the airbags are deflated.
C notching the frame

To get the car as low as possible, I had to c notch the rear of the frame.
C notch complete
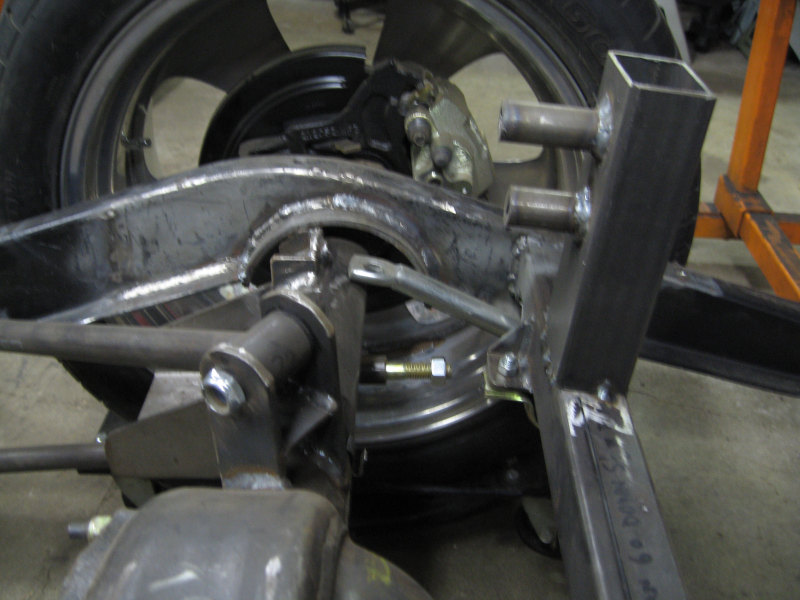
Hours of fabricating to get this setup right.
Extra metal over the C notch

Ford 9 inch rear end, 3:73 gears, posi traction, four link suspension, disc brakes, rear sway bar, all riding on air.
After media blasting the frame was smoothed out
Filled and sanded smooth
Blasted and then painted

After the frame was media blasted it was sprayed with Eastwood's Rust Inhibitor primer and paint.
Frame 2

The frame is flawless.
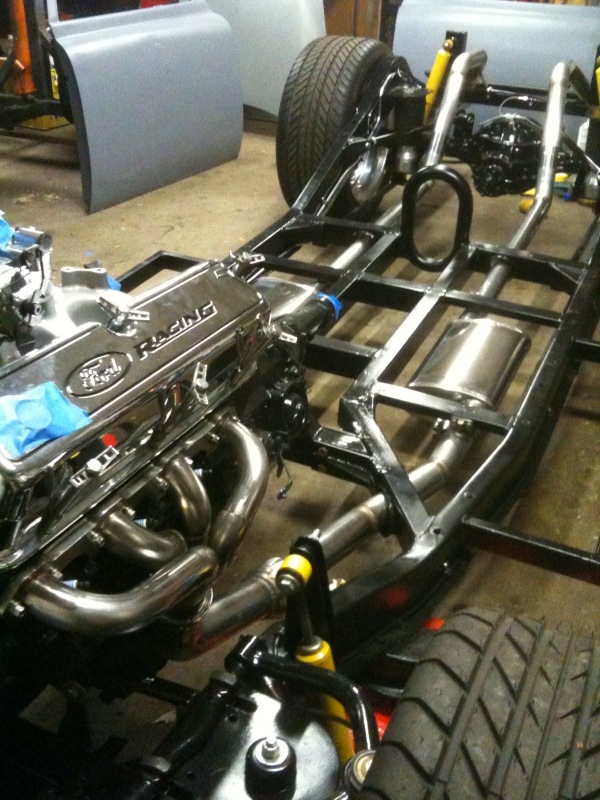
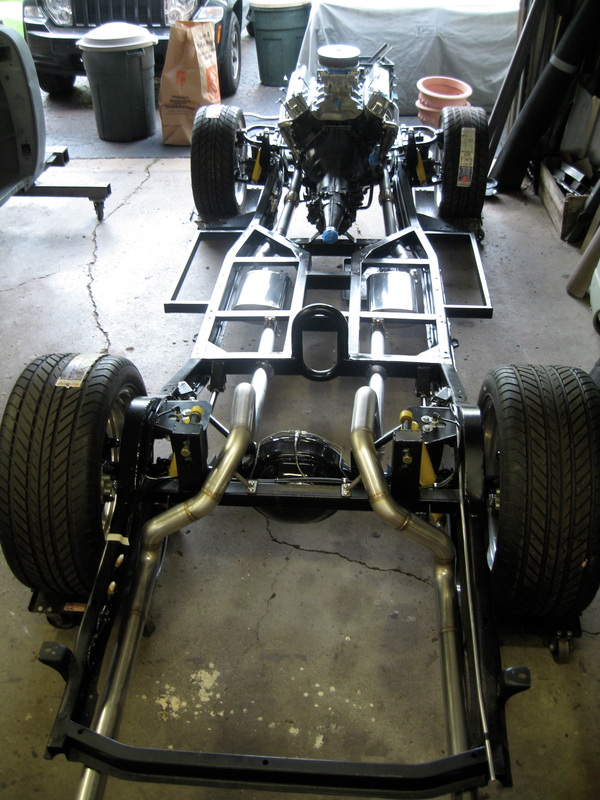
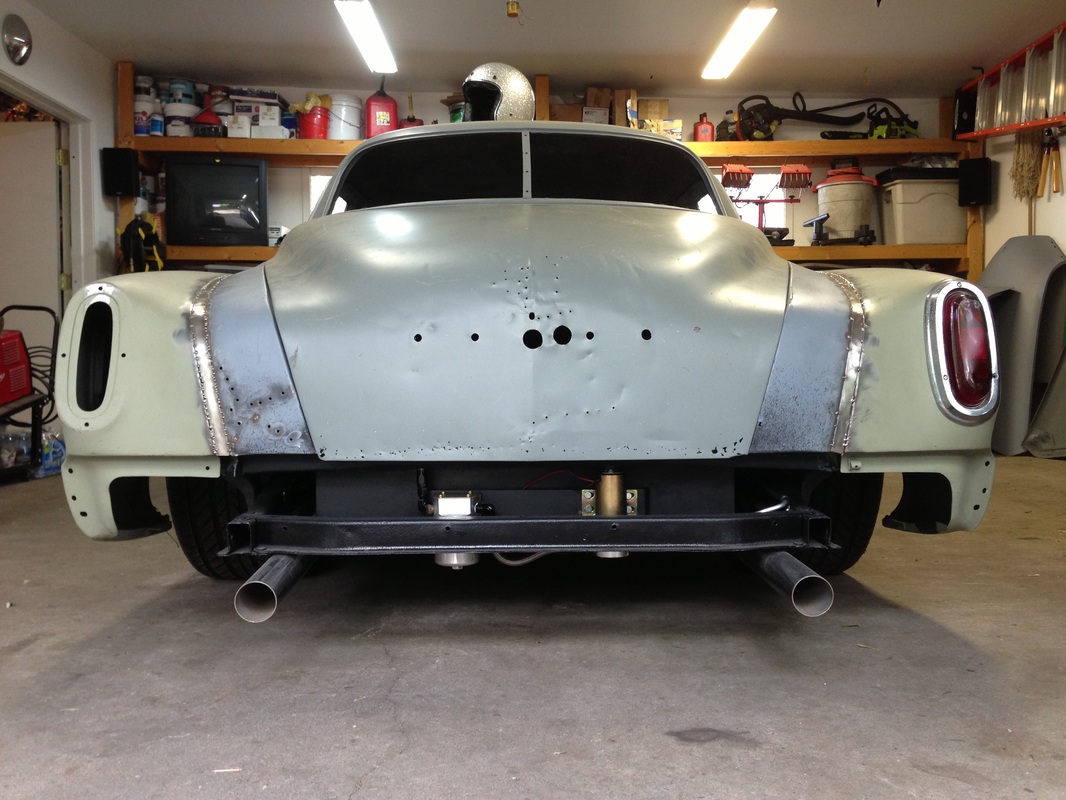
Custom stainless headers and exhaust
My good friend Matt Boesch fabricated custom stainless headers and exhaust. You can see his great work on his website, www.boeschbuilt.com.
The pipes run through the frame so that the car can be slammed right on the ground when the air bags are deflated. It also creates a streamlined look when everything is tucked up in the frame.
Custom stainless headers and exhaust
The pipes run through the frame so that the car can be slammed right on the ground when the air bags are deflated. It also creates a streamlined look when everything is tucked up in the frame.
Frame
It's a shame this has to be covered up.
Media blasted
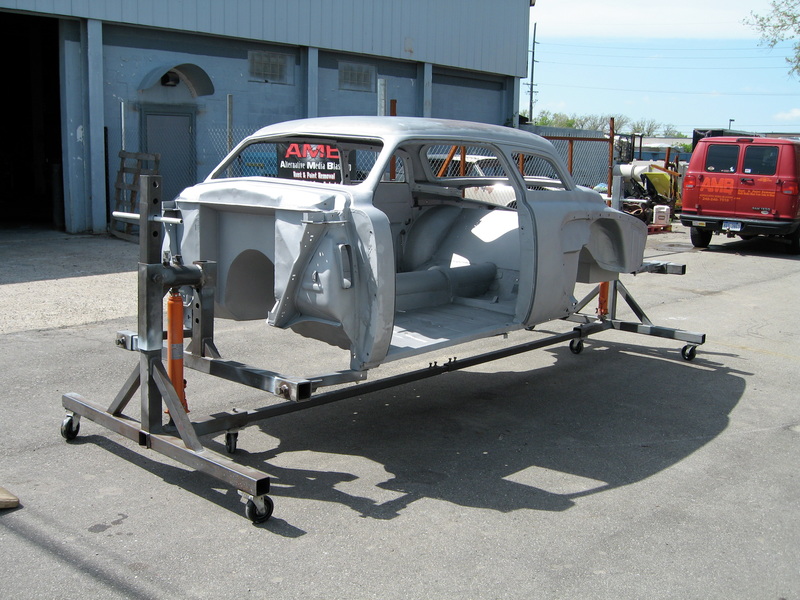
The entire car was blasted to bare metal. Not a speck of paint or rust on it anywhere.
The perfect day to haul bare metal

No humidity and not a cloud in the sky.
Clean chopped doors
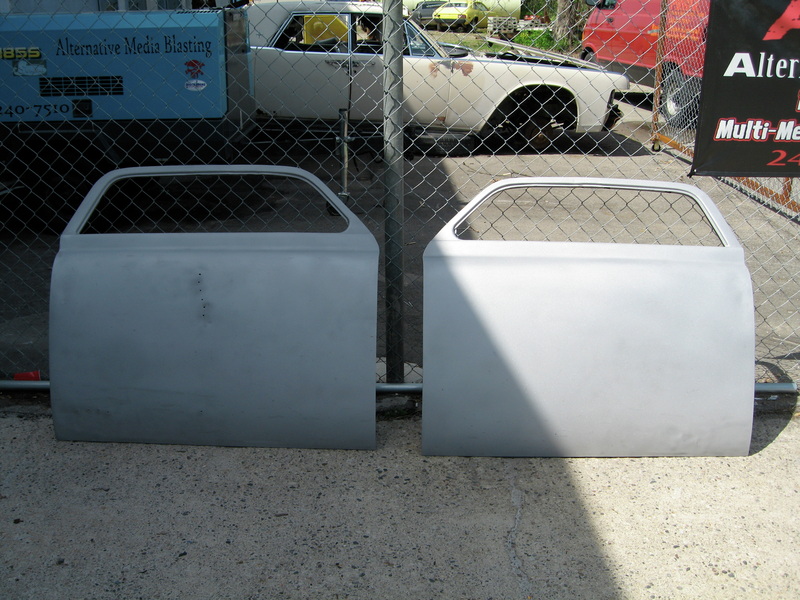
I've never seen cleaner metal.
Back on the trailer. Off to get primed.
The entire car will be sprayed with PPG DP50LF to seal it. It's a great primer and it has rust inhibitors.
Smoothed out the under body
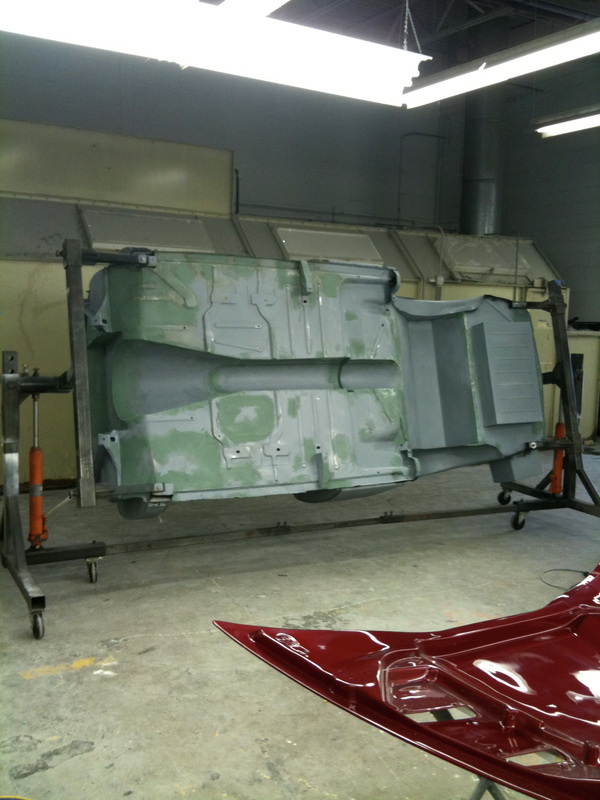
All the welds that were created by adding new floor boards were smoothed out. Every imperfection was tended to.
Perfection even underneath
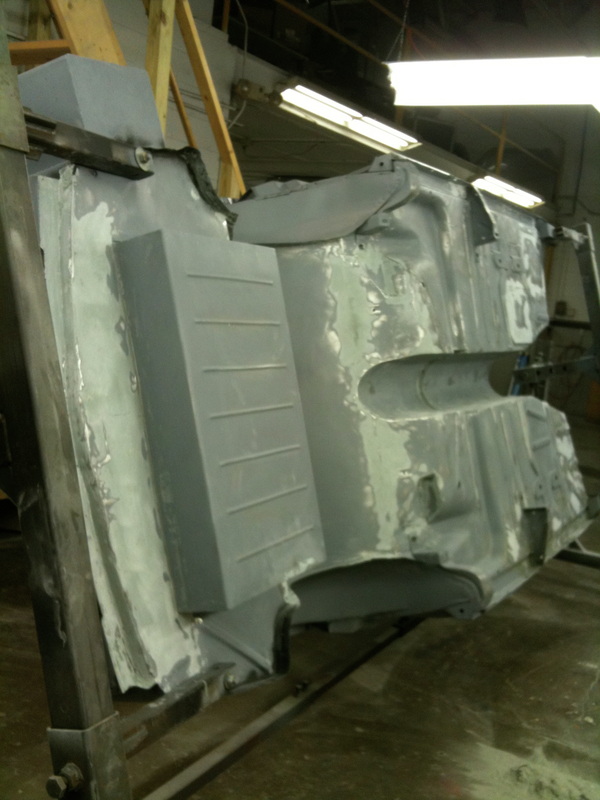
The car rotisserie helped bring the project to the next level. Not many street rods will look this good from underneath.
The bottom is ready for paint
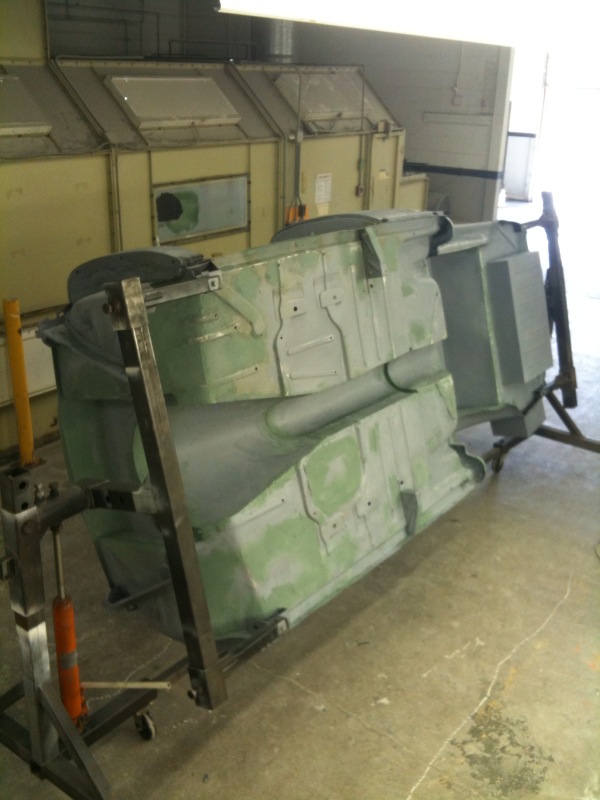
As smooth as it gets.
Underneath was painted.
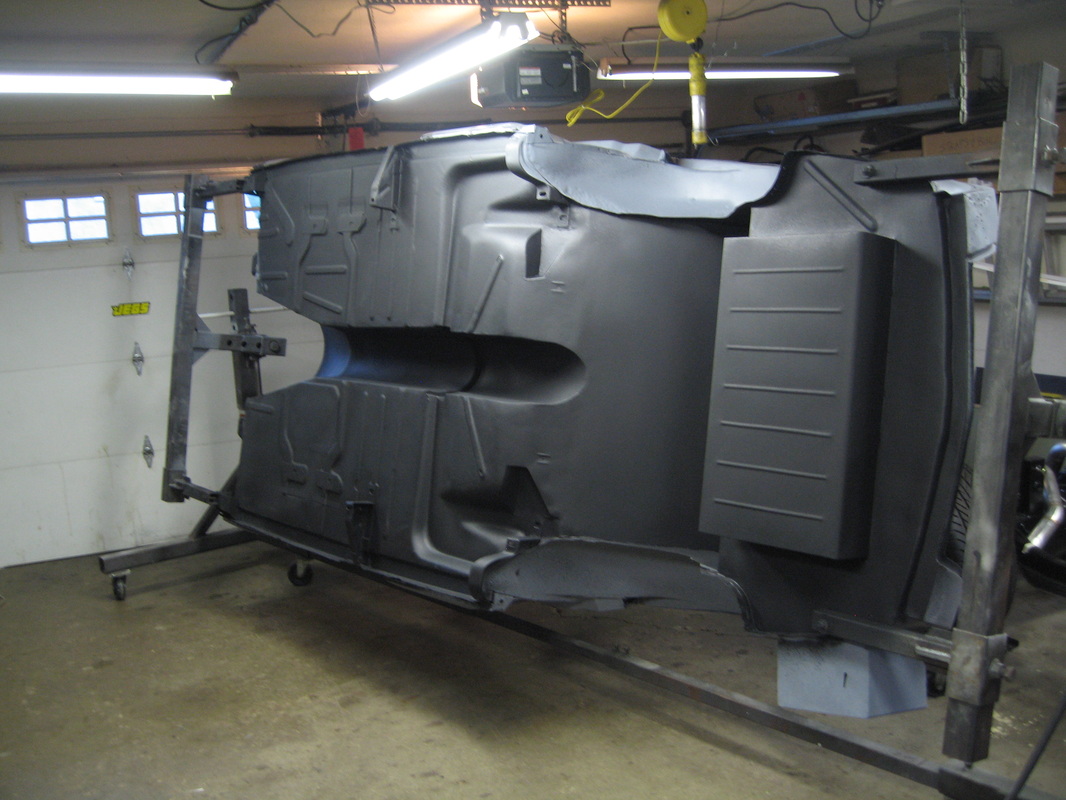
Coated with a durable 3M under carriage paint.
Undercarriage is finished

This paint is flat but the frame is gloss. The two should look good together.
The firewall is flawless

Smooth as silk.
Priming the firewall
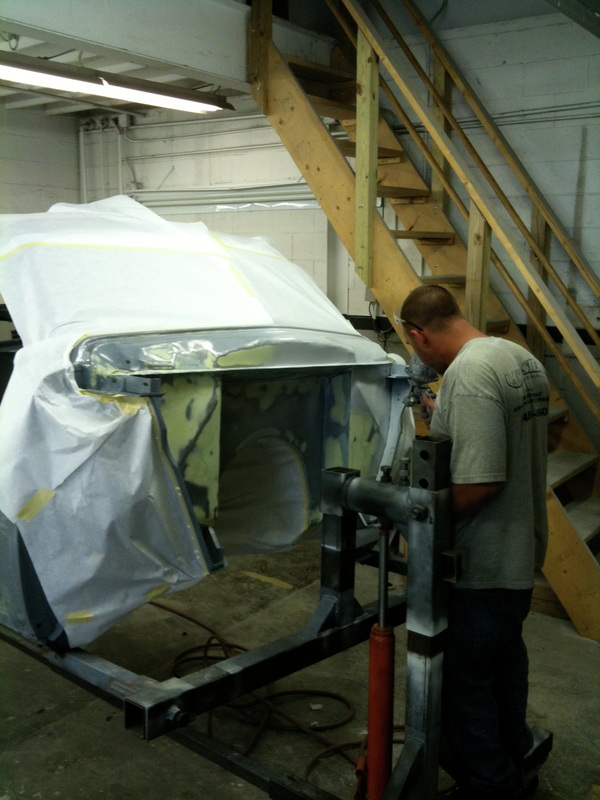
The firewall was smoothed out and primed.
Painting the firewall
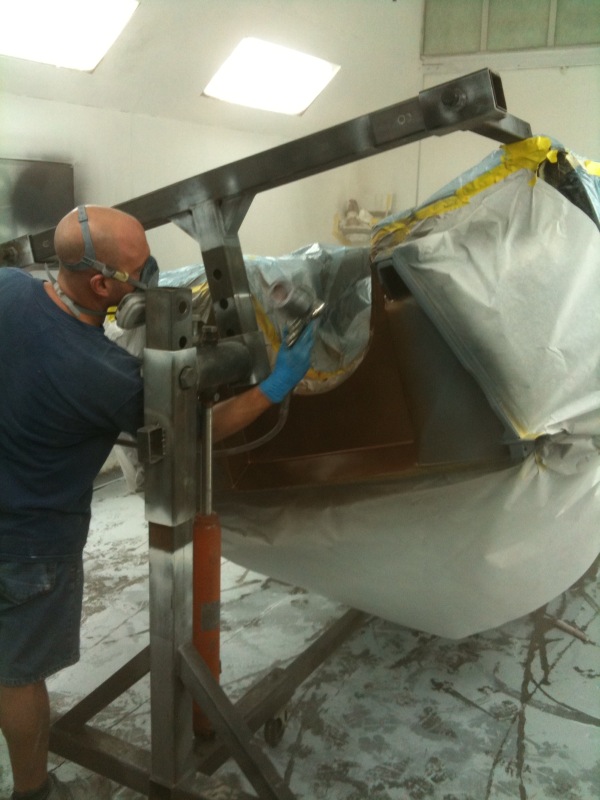
The copper root beer kandy paint is sprayed on the firewall.
Body meet frame
The two are finally back together again.
Doors on

The doors fit descent. Tweaks will be made to improve the fit and finish.
Fenders on
As expected, the rear fenders have to be pulled out to compensate for the fat rear tires. The rear fenders will also be permanently welded onto the body to create a one piece look.
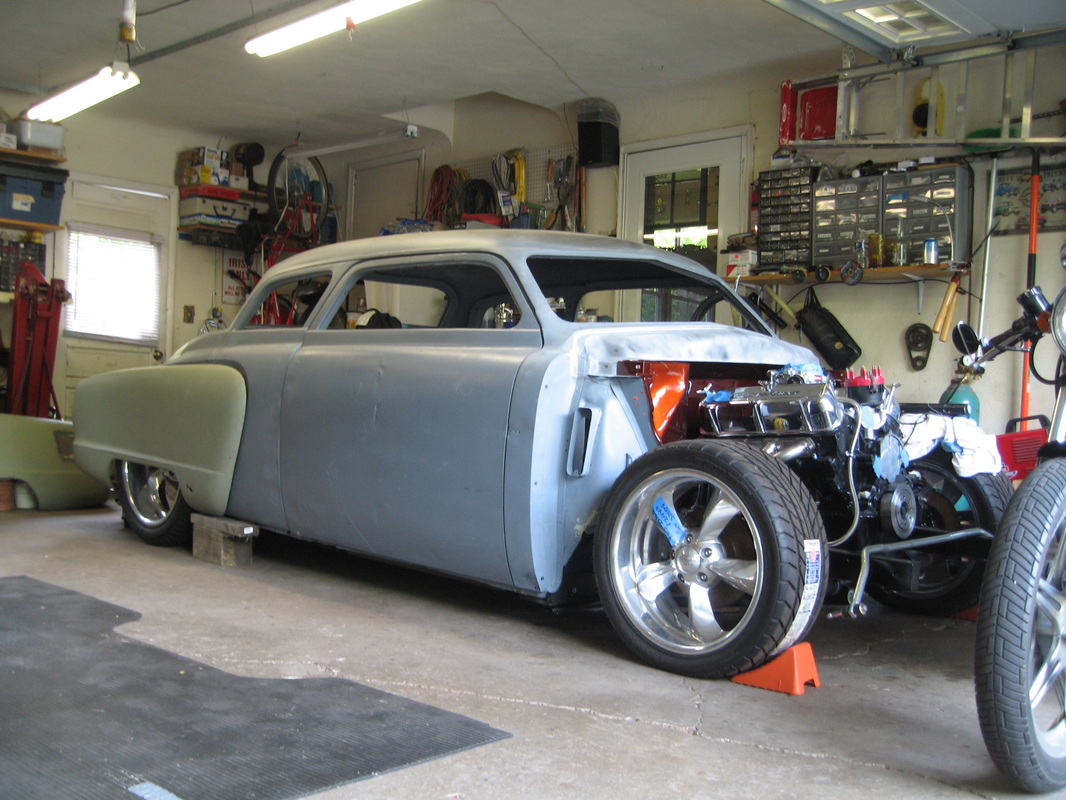
Front view
95% of the body and frame fabrication is complete at this point. Now it's fit, finish and paint.
Bullet shifter
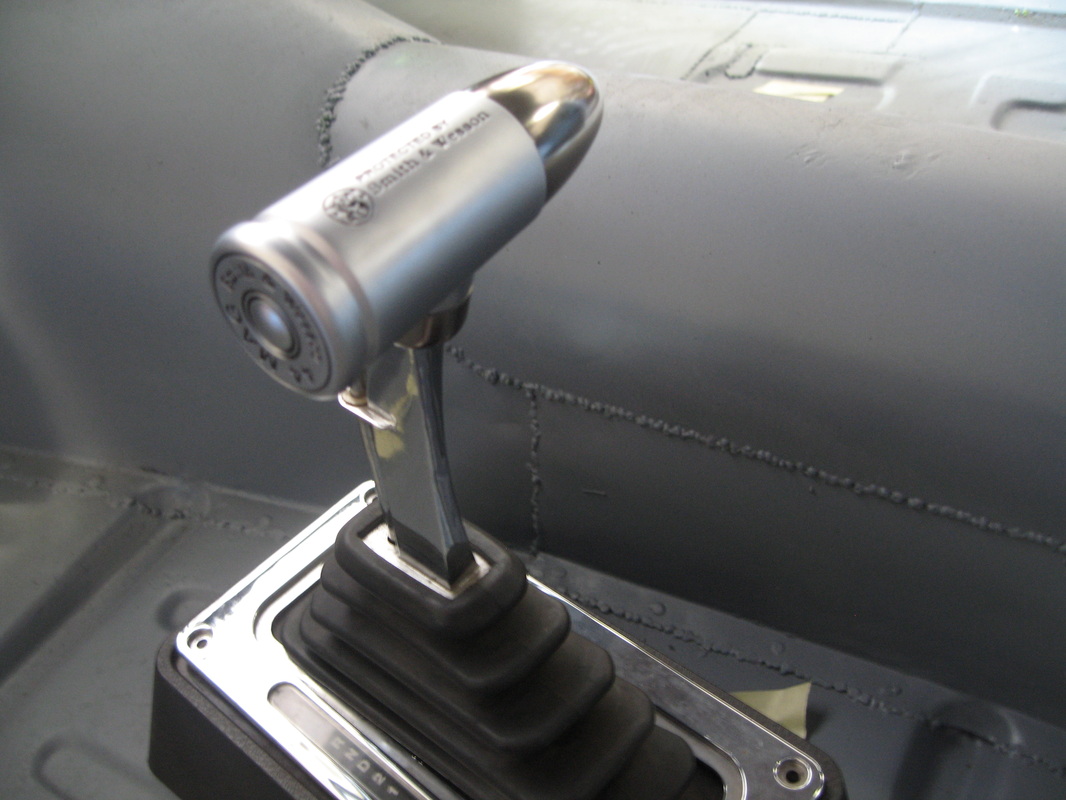
The car is called a bullet nose. I found this shifter and thought it might work.
Rear corners needed repair
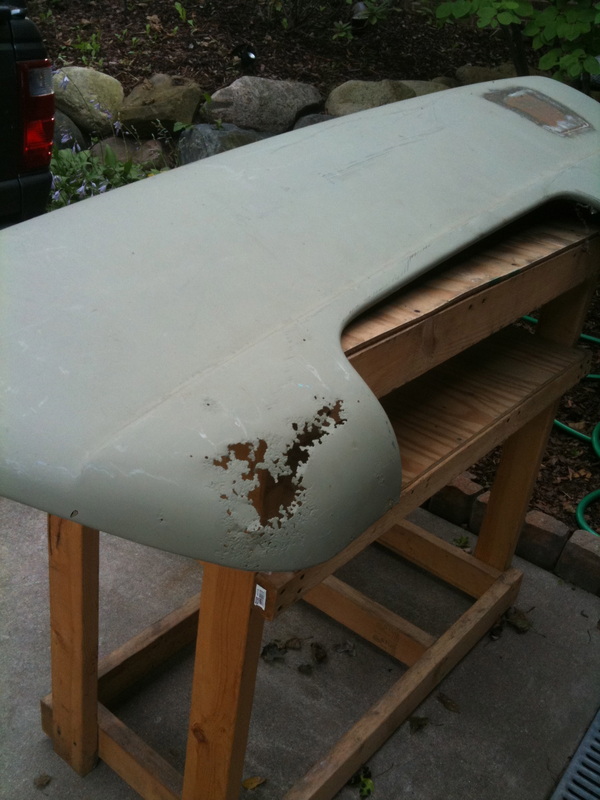
Both sides were rotted out in the same areas.
Rear corner fixed
Formed, bent and shaped some new metal and welded it in. Just like new.
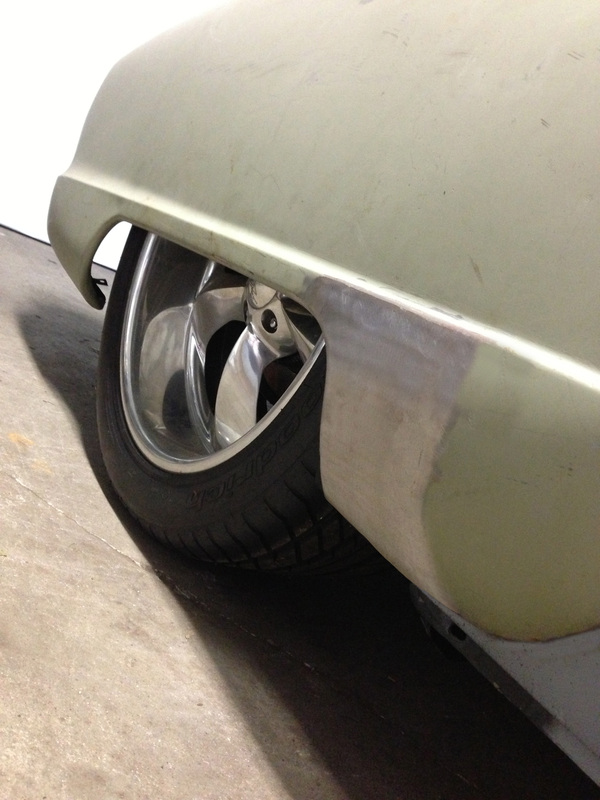
Extra space is needed in the rear quarters
The tires are a foot in width so I added an inch and a half of metal to widen the wheel wells.
Extra space cont.
This took longer than I thought.
Wide load

All this for a wide tire.
Roller Rocker Installation
Back to the motor and installing Crane Cam roller rockers.
Intake manifold installation
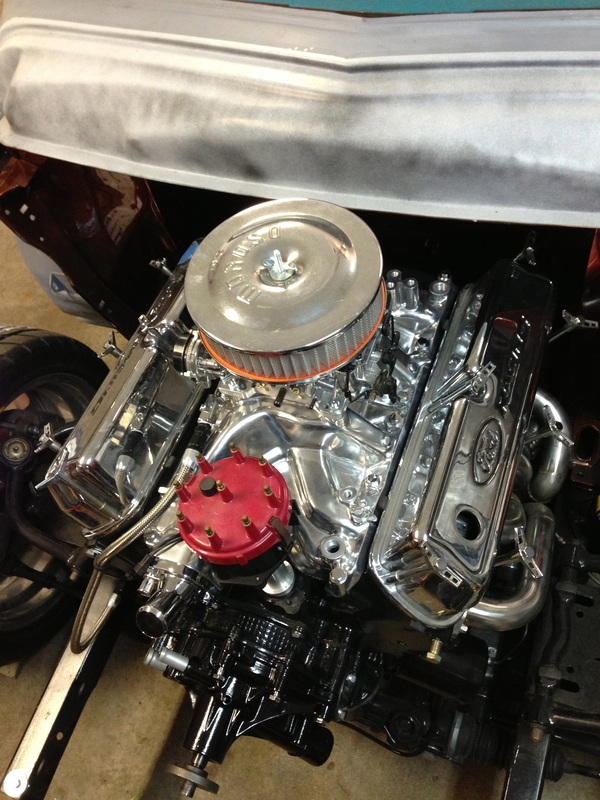
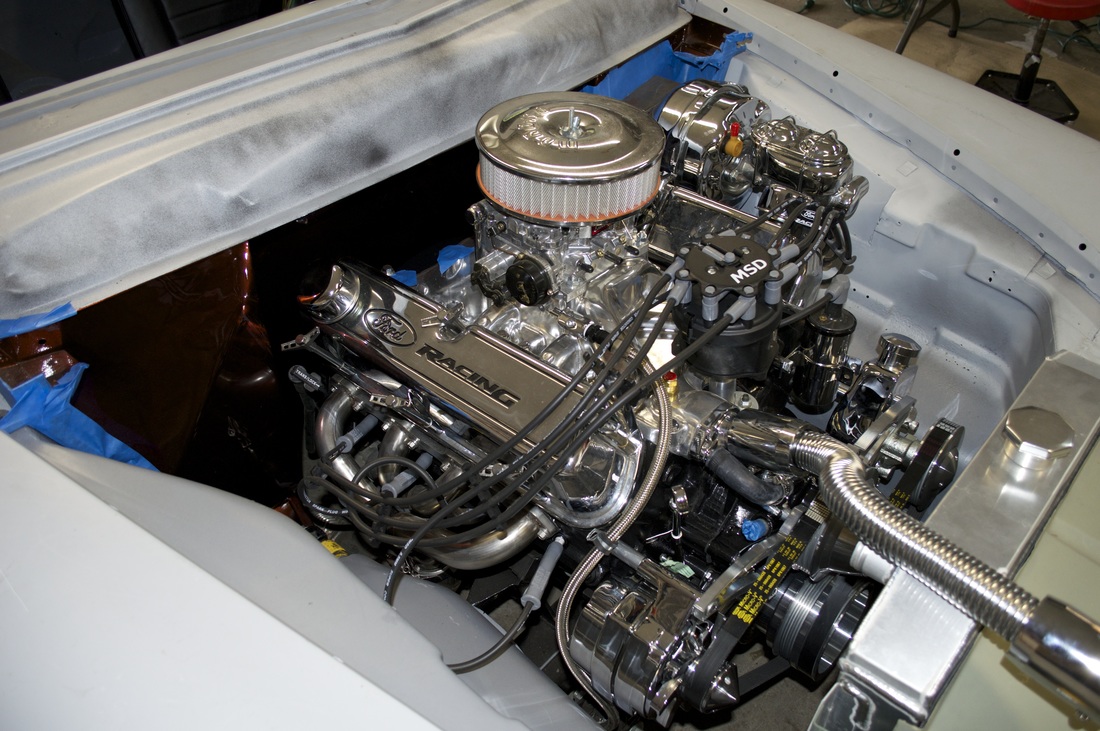
A polished aluminum intake really makes the motor shine.
Black and chrome
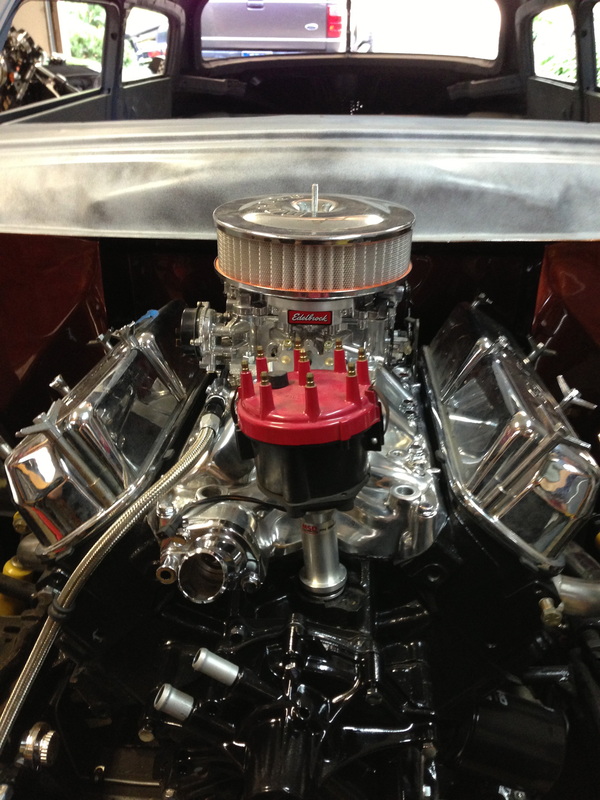
I'm trying to make the only color on the car the copper body color. That means keeping everything else black or chrome. It's hard when every hot rod part is painted in bright colors. I just ordered a new BLACK distributor cap.
Fuel cell complete
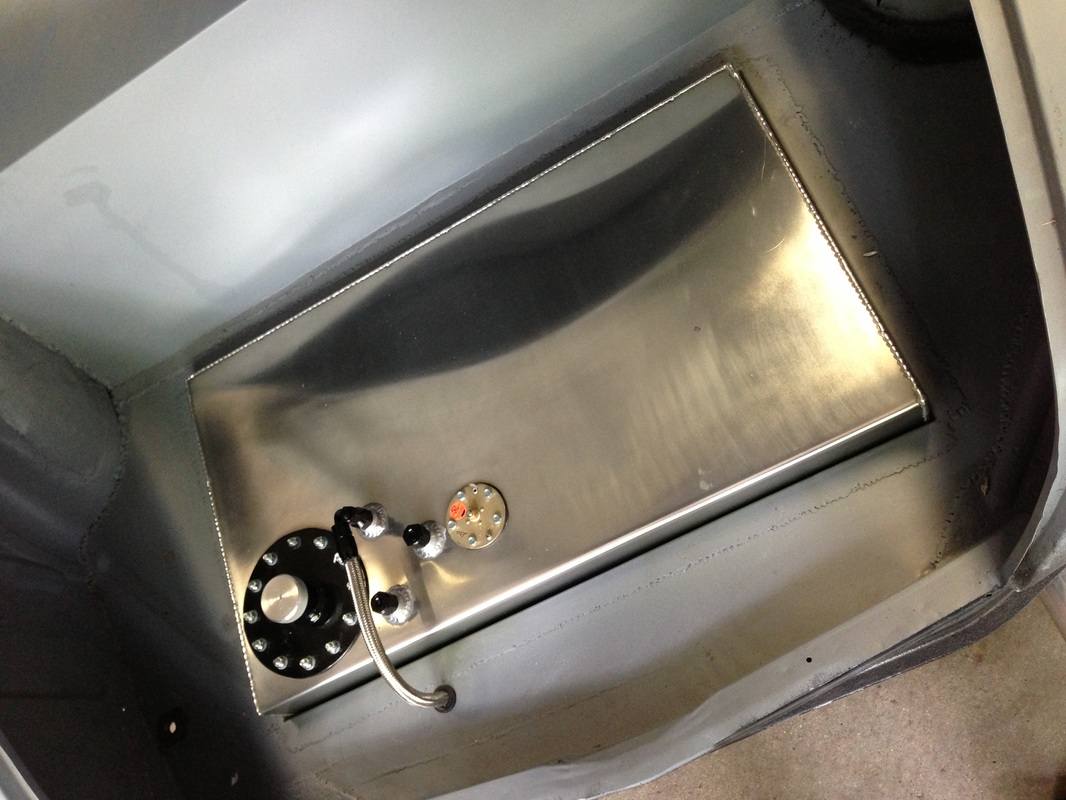
I ran a braided fuel line (with a grommet of course) through the trunk to the fuel filter and electric fuel pump.
Electric fuel pump

Connected everything with stainless and braided fuel lines and used 6AN aluminum fittings. Black of course.
Fuel pump
A hint of the polished aluminum from the fuel filter and pump will show from under the car. I like the drag racing look to it. BTW, I have another trunk that's no so beat up.

Visit sparkcreativeads.com for all your advertising, webiste and design needs.
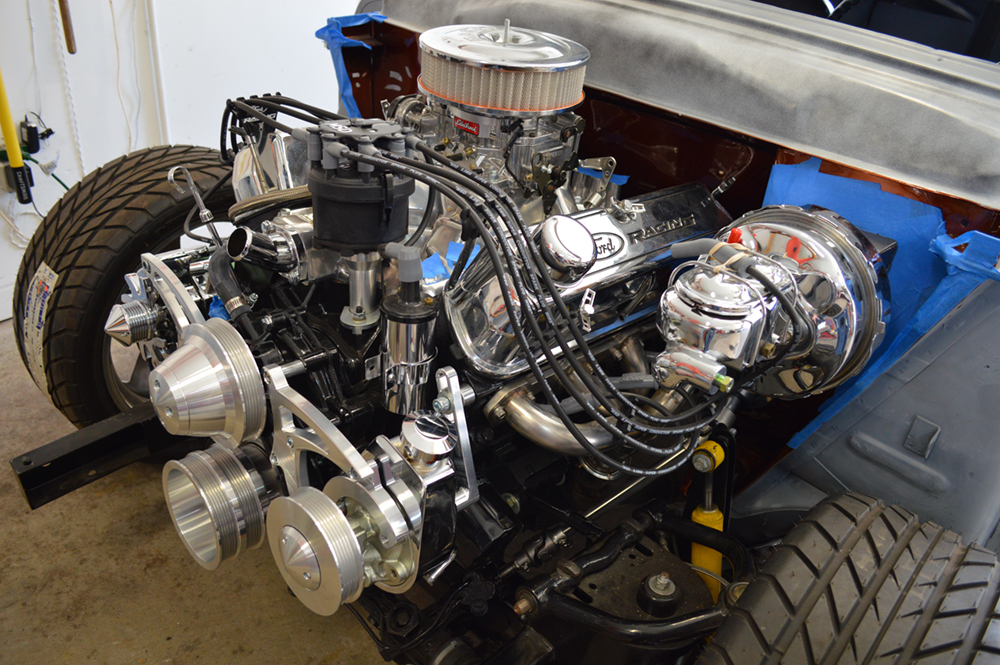
March pulley's going on the 351W
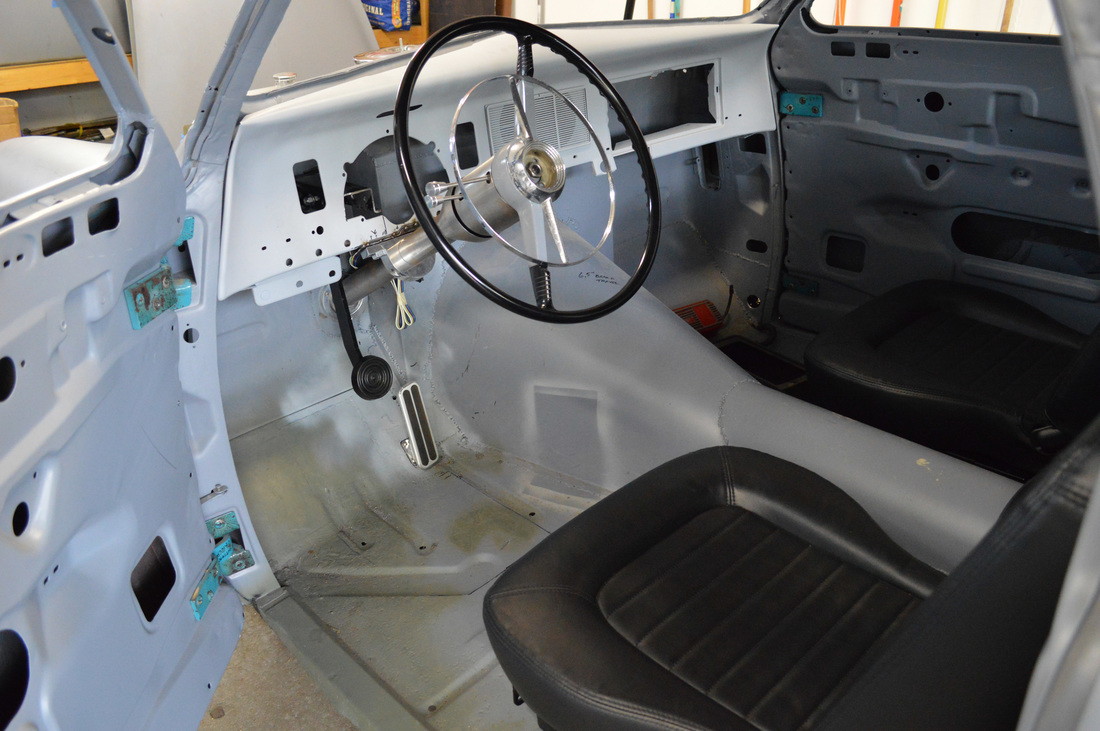
Steering column and the universal linkage is in
Interior is next

Motor is complete
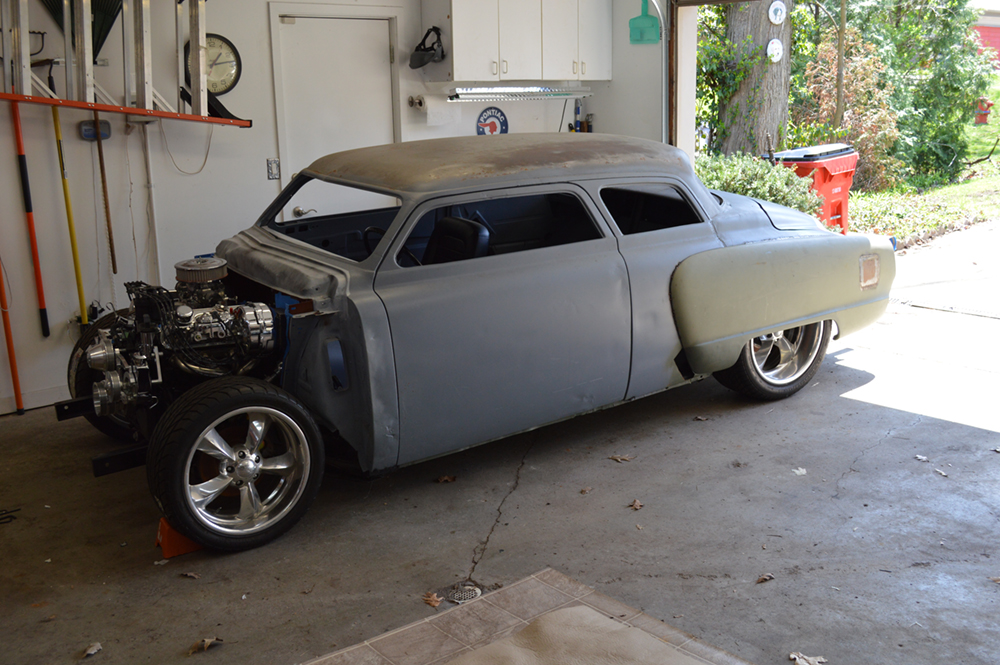
Front fenders are on with not much room to spare
Brake and gas pedal is in. Brake needs to be lowered a bit.